Categories
Blog Campaigns courses Deeper Not Further Blogs Destinations gear Glacier Peak Fastpack Skills GPFP Highlights MBSS Mt. Baker Summit Climb and Snow Skills Preparation registered runners Resources for Registered Runners Runner Resources Skills Trail Skills and Equipment Trip Styles

Fast & Light Mountaineering Gear – UnPacked

This blog is meant to be a resource for anyone participating in an Aspire skills course involving snow and glacier travel. Due to the continuous dialing-in of gear for alpine missions, and the endless trade-offs with comfort and conditions, these gear recommendations are not black and white. For Aspire participants, we will have a pre-trip briefing to fine-tune gear selections. Anytime you are planning to venture into the mountains, it is a good idea to consult with your team about a gear strategy once you have an idea of the route, the conditions, and the weather forecast.


Footwear

This may be the most important piece of personal equipment for your trip. When we move in the mountains, our main connection to the terrain is through our feet. As we move into more technical terrain, we will increase our security of movement by using crampons and ice axes, but the bottom line is that our movement and our ground purchase is our primary source of security. Having the proper footwear for the task is paramount.

  • For Dakobed, we believe the conditions will be such that Trail Runners and Crampons (more on this later) will be adequate. Ensure your trail runners have plenty of life in their tread.
  • For Kulshan, we will be traveling extensively on glacier, pumice, and varied surface conditions, and so mountain boots will be required. 
    • Mountain boots come in many different varieties, and for this course, a 3/4 shank mountain boot is recommended. This describes a boot where the toe has a bit of flex to it, whereas the arch and heel of the boot are rigid. The boot should have a heel welt, but likely no toe welt and a well defined lugged sole.


Clothing System

The ultimate gray area in many ways, is your clothing system, although for some things, it’s fairly black and white.

It’s up to you what you want to travel on-trail in. Bring your most stylin’ fastest mountain movement outfit for the approach and descent!

During the steep snow and glacier travel portions of the route, long sleeves that cover the elbows, gloves and pants are required to mitigate hazards associated with self or team arrests.

  • Lightweight softshell pants are recommended. My personal favorite are the Arc’teryx Sigma FL pants. Fast drying, wind resistant, breathable, and lightweight are good things to consider.

Mountain weather is ever-changing and so having an assortment of layers is key. Make sure your layers pair well together, and can be worn all at once if needed. For a single overnight, we recommend only bringing one of each item listed on the packing list (Except socks, bring a pair of socks for each full travel day). Synthetic fabrics will perform better than cotton.


Sun Protection

In the alpine, there is very little opportunity for shade and the sun comes at you from all directions as it reflects off the snow surface. Having proper sun protection is more than just for your comfort, it is a matter of safety.

  • Glacier Glasses –
    • This is the most important piece of Sun protection, please take time to find a pair that fits your face. Glacier glasses have a darker tint than normal sunglasses and protect your eyes from harmful rays that may reflect off of the snow surface from the underside or periphery of your lenses. They should fit snug against your face, have side shields, and you should not be able to see much light seeping through from outside the rim. Light from above is okay, as you will likely wear a sun hat that will help protect you from above.
    • Arriving without adequate glacier glasses could be a trip ender, as snow blindness is more easily prevented than managed in the field.
  • Buff/Neck Gaiter –
    • This versatile piece of gear can make a huge difference over the course of a full day in the mountains. It can help add extra warmth, protect from the sunburn that wants to happen under your chin, double as a headband or hat, and be used to make a pillow when it’s time to bivy. 
    • ProTip: Stuff your rolled up puffy jacket or insulating layer into your buff as an on-the-go pillow.
  • In addition to these items listed, sunblock and a sun hat are worth their weight. Bring a small bottle of sunscreen for your face and consider wearing light layers to protect other exposed skin.

Safety Equipment

As I mentioned before, as we travel into more technical terrain, we need to think about increasing our security. Many hazards exist when traveling on glaciers and in the mountains, most of which can be placed into one of three categories: falling off the mountain, the mountain falling on us, or falling into the mountain. By equipping ourselves with the proper tools (In addition to meticulous route planning, continual assessment of conditions, and mindful travel) we can help to mitigate our exposure to these hazards.

  • Ice Ax
    • Lightweight and functional is key. Ice axes come in many different shapes and forms, but for the purpose of fastpacking, we want something that will give us purchase as we climb, and in the case that we need to stop ourselves from falling off the mountain.
    • For general fastpacking, you will be fine with a 40-55 cm length ax with an adze.
      • You will be glad for a shorter shaft when you are moving many miles on trail with this strapped to your backpack, and the Adze is more versatile than the hammer for glacier purposes.
      • Some lightweight options: Hummingbird, Gully, LiteRIDE, Ride
      • A very versatile axe, not as light: Sum’Tec
      • I will likely bring one of these: Sum’Tec or Gully
  • Aluminum Crampons
    • Aluminum is lighter than steel. It is also less durable, but we will be mindful of only using crampons when the ground surface necessitates it. Crampons also provide much more stability and purchase on steep icy slopes than micro spikes do. These will help us from falling off the mountain.
    • Given the nature of the terrain for each of our routes planned for this Aspire season, having legitimate crampons is a requirement.
    • If you already own steel crampons, you may choose to use them if they are compatible with the footwear you will be traveling with.
      • Note that for trailrunners, you must have strap-on crampons that do not require a toe or heel welt.
      • For 3/4 shank mountain boots, semi-automatic or strap-on crampons are likely to be compatible.
      • My recommendation: Leopard
  • Glacier Harness
    • Compared to a rock climbing harness, a glacier harness looks like a string bikini. It is basically the skeleton of nylon in a rock harness without the padding. The padding is omitted for a few reasons: it is not meant to be weighted for long periods of time, it is designed for alpine environments where insulating layers serve as additional padding, and its function is to be lightweight and non-restrictive to walking, skiing, or carrying a backpack.
    • A harness paired with a rope, is a way to mitigate the hazard of falling off of or into the mountain.
    • Investing in a good glacier harness can save a decent amount of space in your pack, and also be more comfortable during the climb. From personal experience, wearing a bulkier harness with a pack, over long distances causes some uncomfortable pinching on the hips.
  • Climbing Helmet
    • Head protection is important for all the categories of hazards we face. The important thing to consider in a helmet for glacier travel, is that it fits your head well, is lightweight, and breathable… enough so that you feel comfortable wearing it uphill and down. Make sure it is in good shape (no dents, cracks, UIAA approved, and manufactured within the last 10 years).
    • Note that lighter helmets are usually more breathable and comfortable, but must be cared for, as the trade-off here is durability. Hard shell helmets are adequate for mountaineering, however they are less comfortable, heavier, and not as breathable.

I hope this gear discussion has shed some light on the nuances of packing for a fastpacking trip, and helps you get in the right headspace for how to make decisions about gear. If you are gearing up for a trip with Aspire, I look forward to continuing to dial in our pack contents together, and fielding any other questions that arise.

Thank you for dedicating some time to preparing for your trip. We appreciate you, the mountain appreciates you, and hopefully, you will appreciate the effort you put into setting yourself up for success!

-Julie Ann Holder.


This blog explores the mountaineering element of our skills courses. You can also dig in to the companion resource for fastpacking gear.

Want to join Aspire on the mountain and learn fastpacking and alpine skills? Check out these courses for 2022:

Glacier Peak Fastpack Course – SOLD OUT for 2022
Mt. Baker Summit Climb and Snow Skills Course


Julie Ann leads Aspire’s mountain based skills courses and fastpacking missions, while also working as a mountain guide in the North Cascades, and teaching wilderness medicine courses.
Categories
Blog courses gear Glacier Peak Fastpack Skills GPFP Highlights MBSS Mt. Baker Summit Climb and Snow Skills Preparation registered runners Runner Resources Skills Trail Skills and Equipment Trip Styles

FastPacking Gear – UnPacked

FastPacking gear is lighter than general backpacking or mountaineering gear, but attempts to tackle similar environmental exposure over the course of fewer days. Carrying less food and less bulk or weight can allow one to move more freely, at a faster pace than one who is carrying an expedition style pack. All this said, the key to successful Fastpacking is to read the weather and conditions appropriately, and move fast-and-light when the time is ripe for it.

This blog is meant to be a resource for anyone preparing for an Aspire Fastpacking skills course. Due to the continuous dialing-in of gear for Fastpacking missions, and the endless trade-offs with comfort and conditions, these gear recommendations are not black and white. For Aspire participants, we will have a pre-trip briefing to fine-tune gear selections. Anytime you are planning to venture into the mountains, it is a good idea to consult with your team about a gear strategy once you have an idea of the route, the conditions, and the weather forecast.

Sleep System: 

The word ‘system’ is key. Any sleeping bag, sleeping pad, or shelter you choose, does not stand alone. They all work together to either make or break your sleeping experience. With some ground conditions, such as snow, your pad and shelter may need to be the most robust, whereas your sleeping bag may toe the line of temperature rating. At other times, shelter may rule out as the thing that takes up the most space (due to rain or inclement weather). When the weather forecast is high and dry, you may be able to get away with the most minimal of all three, and this is when Fastpacking is at its most prime. The most important thing is to ensure that your sleeping bag, pad, and shelter work together and are adequate for the conditions you might encounter in the mountains.

  • Sleeping Bag – 
    • How warm does it need to be? How packable? 
      • Weather Considerations: In order to answer these questions, you should first consider what the nighttime low temperature will be for where you are going. A good way to check specific weather forecasts is to visit NOAA for the area to which you are traveling. Using the inset map on the lower right hand side of the page, you can pinpoint your proposed camp location (elevation is important) and allow the page to refresh with the forecasted weather for that zone.
      • Weight vs. Warmth: Next you get to consider the trade-offs of having a warm night’s rest and carrying a little extra weight, or opting for a slightly less comfortable slumber and having a lighter pack. **You’ll notice this is a trend with most light-and-fast style missions.**
      • For the North Cascades in the summer, in good weather, you can get away with a 30 degree bag most nights, and other times, you may wish you had the 0 degree. My personal approach has been to travel with a lightweight 10-15 degree water resistant down sleeping bag and ensure that I pack it inside of a waterproof stuff sack, and pair it with adequate ground insulation and shelter (more on this next). If the forecasted temperatures are lower than 25 or the winds are expected to exceed 10-15 mph, I will likely also bring a silk weight sleeping bag liner, to add a little warmth.
  • Sleeping pad –
    • R rating? Thickness? Closed or open cell? Inflatable or foam?
      • If cushion is really important to you, bring a lightweight inflatable or open cell pad (Exped makes some good options), but MAKE SURE there are no holes in your pad, that it holds air all night, and that you bring a durable ground cloth (must be puncture resistant) that is larger than the footprint of your pad!
        • Ground cloth pro tip: Cut a section of Tyvek to size.
        • Open Cell/Inflatable Pad
          • PRO: Cushion for the joints and back, lightweight, packable
          • CON: Easy to pop/not durable, tends to be colder, difficult to field repair in alpine environments
      • When going fast and light I choose not to bring an inflatable pad. 
        • #1: Because I’ve had too many pop on me over the years. 
        • #2: Without a high R-value or an additional closed cell foam pad, I get too cold. 

And so in my calculation of trade-offs, I choose warmth over comfort and bring a lightweight foam pad.

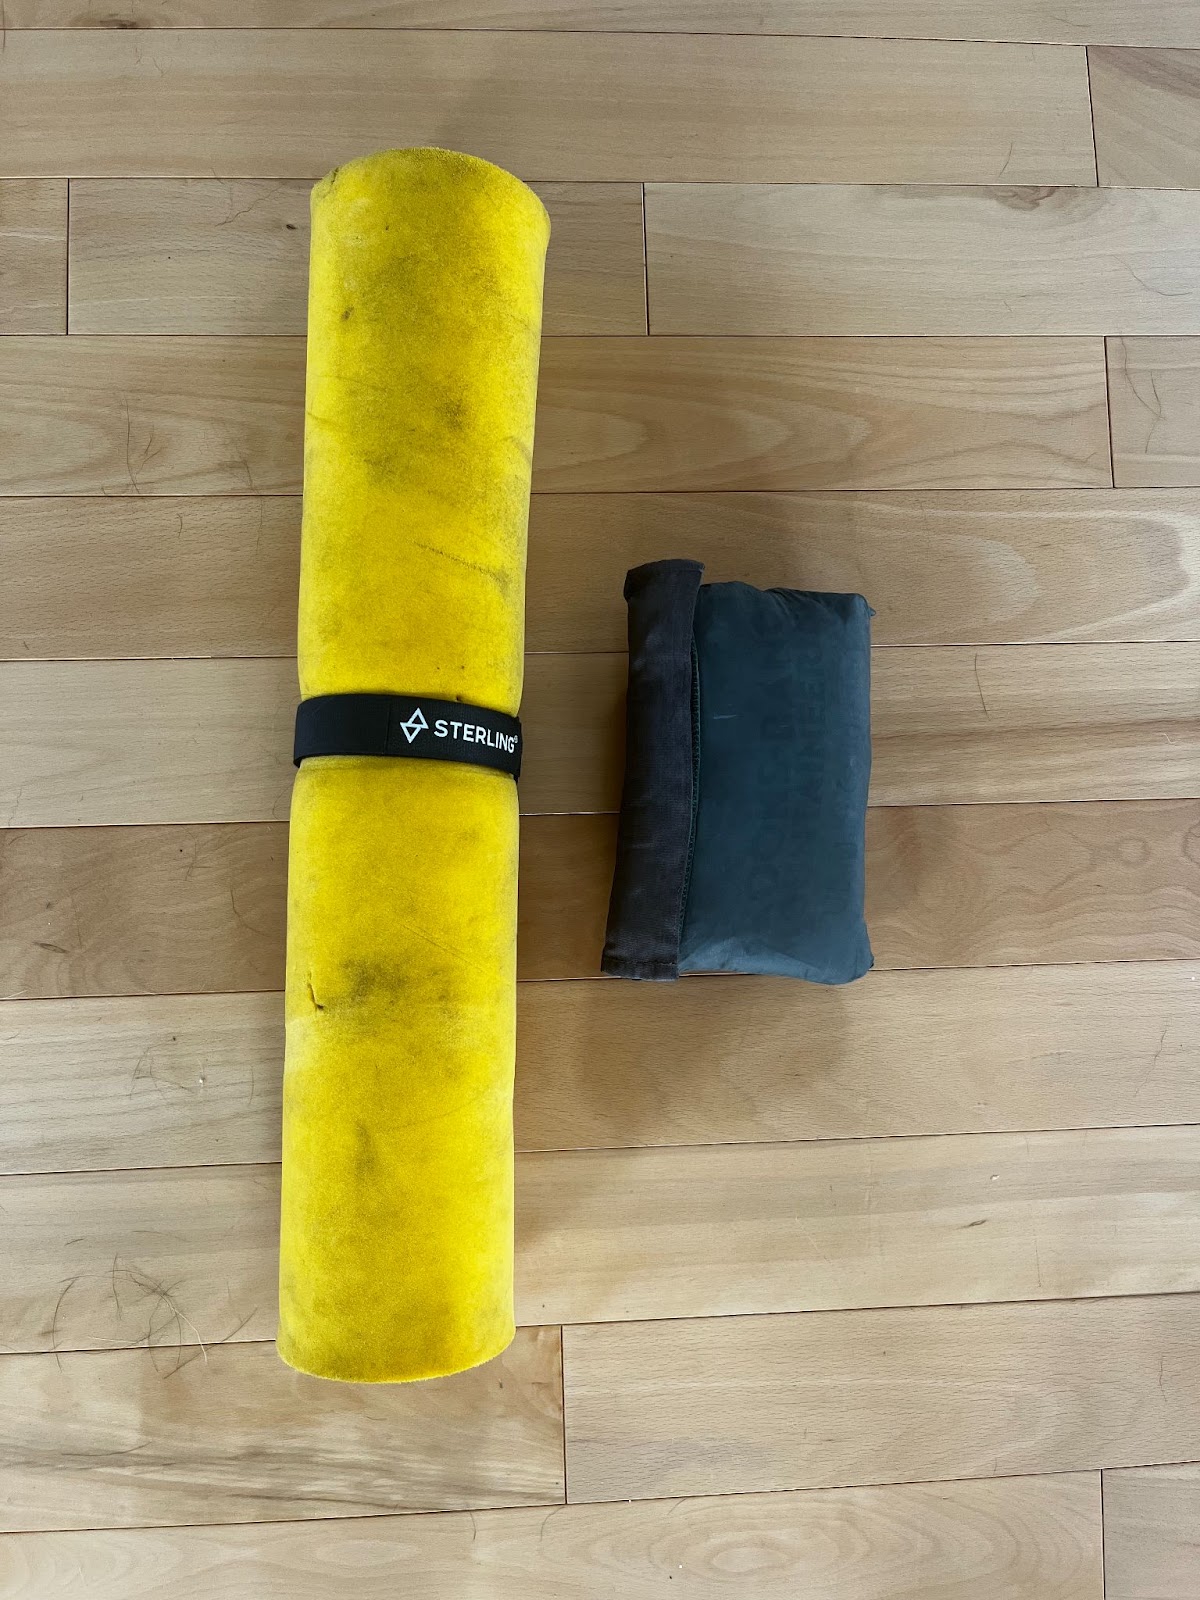
  • Closed Cell Foam Pad
    • PRO: lightweight, insulating, durable, can also be used around camp/as a yoga mat, etc.
    • CON: bulky, not as comfortable
  • Shelter –
    • Tent? Bivy Sack? Tarp? None of the above?
      • Consider the forecast… Precipitation? Snow? Wind?
      • Consider the environment… Trees? Snow? Rocks? Ground Surface?
      • Consider the number of nights out… one or multiple?
        • TENT
          • PRO: solid shelter from rain/snow/wind, adaptable to any ground surface, spacious, comfortable, bug screen
          • CON: heavy, bulky
        • TARP
          • PRO: lightweight, packable, good shelter from precipitation, good airflow
          • CON: sometimes necessitates an additional ground tarp, does not fair well in high winds, must have trees or trekking poles and stakes, no bug screen
        • BIVY SACK
          • PRO: lightweight, packable, can be solid shelter (depending on the type)
          • CON: tends to promote condensation inside the bag, claustrophobic for long periods of time
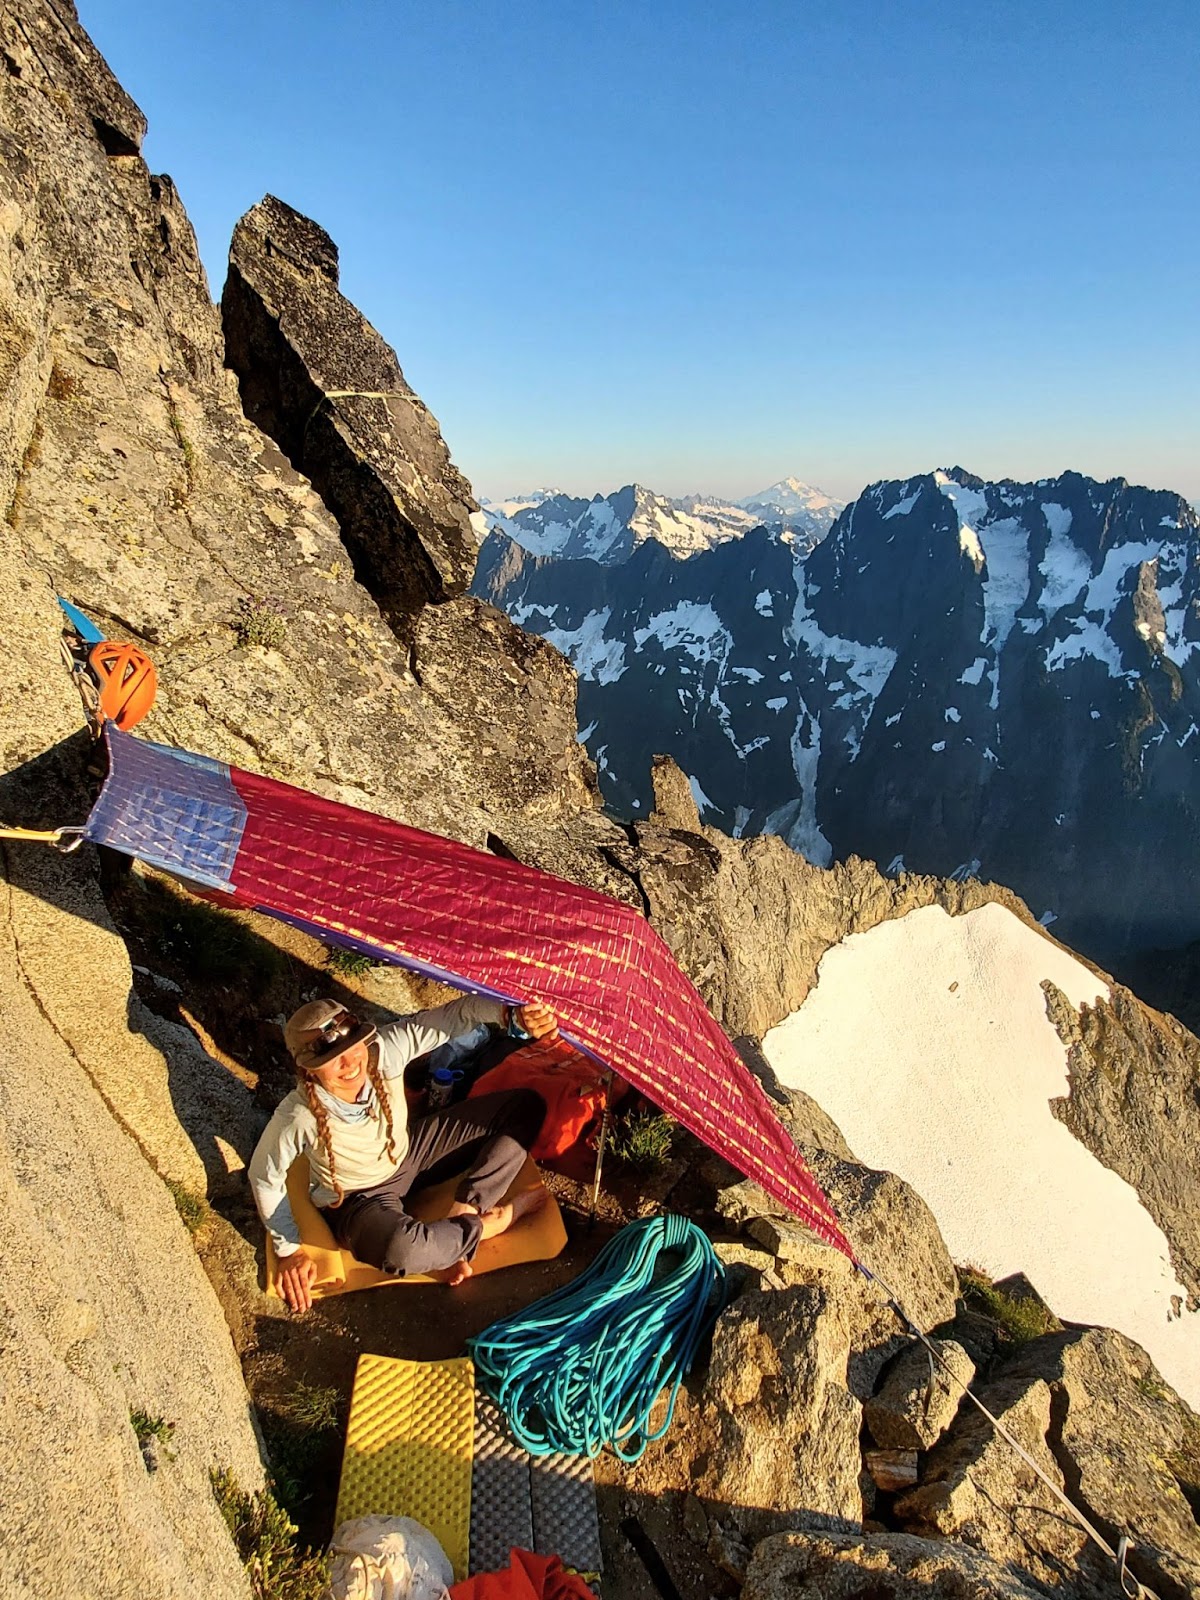
        • For the Aspire Skills courses on Kulshan and Dakobed, we will be camping above Treeline, on rocky surfaces, for one night only, and there is potential for any kind of weather (likely no insects). A lightweight waterproof bivy sack is recommended.
          • Given that we only have one night out, if you get wet, it will be okay. *If going out for longer missions, consider how to keep your gear dry, or the efficacy of synthetic versus down sleeping bags.

What is your guide bringing? Rab Neutrino 600 10 F Sleeping bag, MEC Zotefoams Evazote 5mm Bivy Sleeping pad, Brooks Range Ultralite Mini Guide Tarp (doubles as a bivy sack and tarp)

Cooking System

Every year, the cook systems are getting smaller, lighter, and more efficient. Although, no stove is all three. If you want efficient boil times in cold temperatures or high winds, you trade off a little bit of packability and weight. Some backpacking stoves are exceptionally small and light, although they tend to consume A LOT of fuel when trying to cook in cold or inclement weather. (We won’t even touch on how altitude influences these stoves.)

For the alpine environment of the North Cascades, I’ve found the integrated stove systems to be a favorite amongst mountain guides and recreational climbers. The JetBoil MiniMo allows you to simmer, whereas, the MSR Windburner has faster boil times, remarkably so when the wind is howling or the temperatures are below freezing. If you are looking to boil water for food, and melt snow for water, the MSR Reactor is the most efficient, albeit a little heavier. The MSR Windburner is next up in efficiency, a little lighter, but is hard to cook with (unless you tend to it very actively). The JetBoil stoves boast some of the more packable options, and have the ‘simmer’ option, but take their time reaching a boiling point on cold mornings or windy nights.

My tried and true stove for the North Cascades is the MSR Windburner.

Fuel is another consideration and depends on the number of people, number of meals, water source, water purification strategy, and style of meal.

For the Glacier Peak Fastpack course, we will be making two just-add-water meals, 2-3 hot drinks per person, and will likely find a water source along our route. We will discuss fuel amounts as a team. Usually a small canister for 2 people for one to two nights is adequate.

Food/Fueling

Moving fast and light, the easiest way to cut weight is to trim down on food. But we are asking our bodies to do a lot, so we need to give them the fuel they need to function properly. There have been huge improvements in freeze-dried and dehydrated meals in the last few years, so get excited and go find a meal that you can get amped up about!

Dinner Favorites: Good To-Go Kale and White Bean Stew, Mushroom Risotto, Thai Curry. Backpacker’s Pantry Pad Thai (lots of calories), also feel free to dehydrate your own meal (just make sure you work out the logistics of using the stove and cleaning it out if you share).

Breakfast Go-To: Breakfast is an important meal in the mountains. I like to bring a small bowl, some dehydrated coconut milk, and some tasty granola with nuts, seeds, and dried fruit. Get creative! Oatmeal is also an easy option and can be eaten straight out of the packet.

Pro Tip: You can use your empty dehydrated dinner pouch as your breakfast bowl. (Just make sure you eat all the dinner first.)

If you’re a coffee drinker, pick up some instant brew. If you like cream, sometimes I pair a Via with a Trader Joe’s Instant coffee where the cream is included. Add hot cocoa mix and you’ve got a mocha! 

Pro Tip: A 16 oz. Nalgene paired with a Coozie works great as a mug, and can also be used to dry your shoes!


Clothing System

The ultimate gray area in many ways, is your clothing system, although for some things, it’s fairly black and white.

It’s up to you what you want to travel on-trail in. Bring your most stylin’ fastest mountain movement outfit for the approach and descent!

During the steep snow and glacier travel portions of the route, long sleeves that cover the elbows, gloves and pants are required to mitigate hazards associated with self or team arrests.

  • Lightweight softshell pants are recommended. My personal favorite are the Arc’teryx Sigma FL pants. Fast drying, wind resistant, breathable, and lightweight are good things to consider.

Mountain weather is ever-changing and so having an assortment of layers is key. Make sure your layers pair well together, and can be worn all at once if needed. For a single overnight, we recommend only bringing one of each item listed on the packing list (Except socks, bring a pair of socks for each full travel day). Synthetic fabrics will perform better than cotton.

Personal Items

When it comes to personal items on a light and fast mission, consider bringing only the necessities. Some items that are recommended are a headlamp and a personal first aid kit for things like blisters, chafing, etc. Trim down your toiletries to a bare minimum, and consider bringing only the amount of toothpaste you need for one night (maybe even preload it).

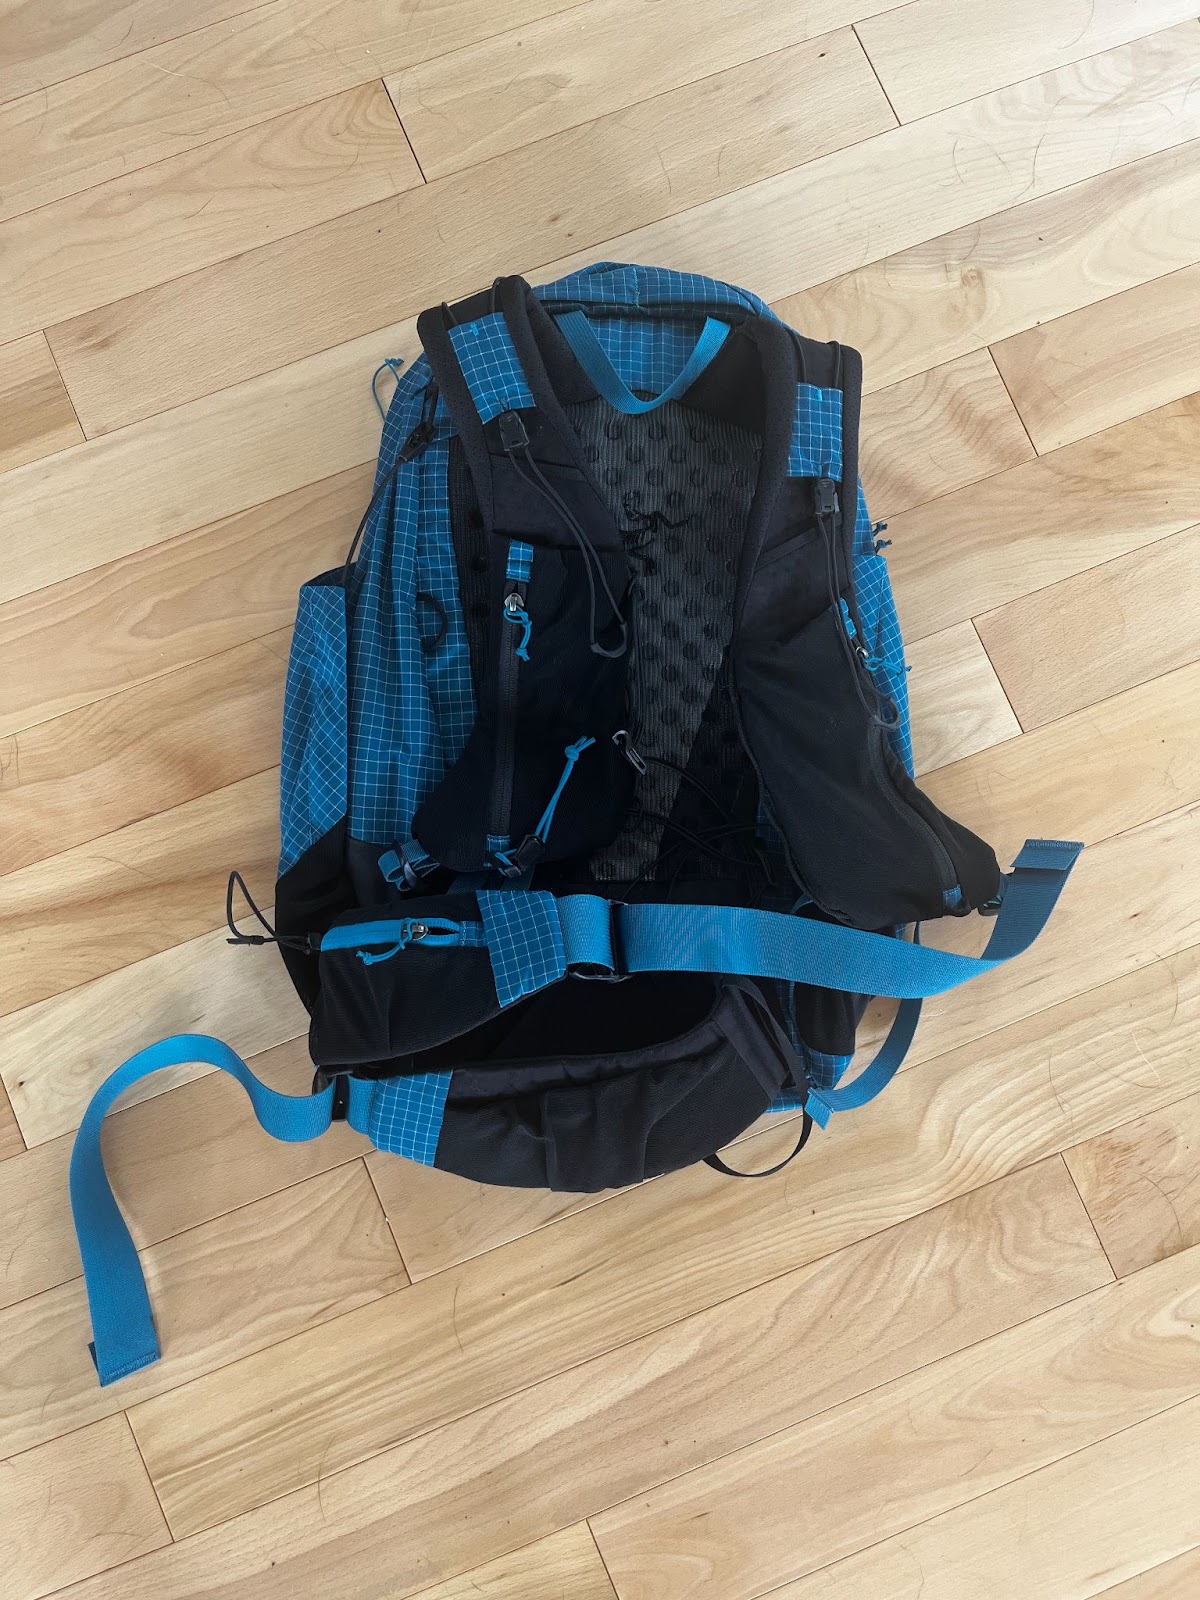
  • 15-30 Liter Pack
    • This is where the rubber meets the road in terms of all the gear you intend to bring on a fast and light mission… It all leads up to the fated question, will it fit in the backpack? If your plan is to go fast and light, a 30 liter pack should be the goal. And with that said, there is some wiggle room. A well fitting 35 liter pack can also get the job done, but be conscientious not to just fill space because you have it.
    • A welcomed side benefit of attempting a fast packing mission, is that you have an opportunity to be very selective with what you choose to carry, and to strive to bring only the things that are necessary, and that you will use.
    • What I look for in a good pack: well-fitted to your torso, lightweight, easy access pocket to water, snacks, etc., and a comfortable hip belt that is also low profile for ease of movement.
    • The current pack options I’m debating bringing: Aerios 30, Firecrest 28, Fastpackher 30

For those of you just testing the waters of whether or not fastpacking or mountaineering is something you derive enjoyment from, this can seem like a lot of gear to acquire… and I agree. My best recommendation to cut down on costs is to reach out to friends or local businesses to see if there is an option for you to borrow or rent these gear items until you have a better idea of how you want to invest. There are so many different varieties for each gear item listed in this blog, and each one is specific to how you will use it, where you will use it, and when. 

I hope this gear discussion has shed some light on the nuances of packing for a fastpacking trip, and helps you get in the right headspace for how to make decisions about gear. If you are gearing up for a trip with Aspire, I look forward to continuing to dial in our pack contents together, and fielding any other questions that arise.

Thank you for dedicating some time to preparing for your trip. We appreciate you, the mountain appreciates you, and hopefully, you will appreciate the effort you put into setting yourself up for success!

-Julie Ann Holder.


This blog explores the fast-packing element of our skills courses. You can also dig in to the companion resource for fast and light mountaineering.

Want to join Aspire on the mountain and learn fastpacking and alpine skills? Check out these courses for 2022:

Glacier Peak Fastpack Course – SOLD OUT for 2022
Mt. Baker Summit Climb and Snow Skills Course


Julie Ann leads Aspire’s mountain based skills courses and fastpacking missions, while also working as a mountain guide in the North Cascades, and teaching wilderness medicine courses.
Categories
Blog Campaigns FAQ's Highlights Preparation registered runners Runner Resources Spring Training Community Blogs Training Resources

Confidence & Consistency: STC Journal #4

Aspire Adventure Running, in collaboration with coach Andrew Fast, has created 2022’s Spring Training Community program. The training plan includes elite concepts for every athlete and monthly webinars that give participants a chance to come together for further insight.  The webinars feature presentations from Andrew and special guests discussing fueling, use of technology in training, ways to improve recovery, and the power of mindset. The intent of this program is to lay down a solid foundation of base fitness in preparation for spring and summer objectives. 


We are told to go for it, to dream big, go big or go home, to set scary goals, to shoot for the stars. When it comes to the search for success, we often look to raise the ceiling–do something new and ambitious, to leave the safety harbor. The central focus is on being great.  

Steve Martin, comedian and actor, is said to have told aspiring performers, “Anyone can be great. There’s always a night when your on it. But what about the next night when you don’t have that hot audience and you’ve got to be just good. That’s the hard part.”

We have all experienced flow state: time and space melt away and hard things feel easy. Working through that technical stretch of trail that normally kills momentum seems effortless or when we hit that final mile to the car and your energy feels limitless. That time you had to give a speech to a large group when everything just flowed, words came naturally, no notes required. Or that time you sat down for a high stakes exam and the answers to every question came easily. I’ve never come close to experiencing the last example—but that’s not the point.

These experiences of “flow”, when everything comes together, are the moments we hold on to. We also know these moments are short-lived and not the norm. Maybe you experience this once or twice a season or once every 60 or so performances. What do you do the rest of the time?


Consistency

Consistently being good is harder than being great every now and then. 

In the realm of performance our focus trends toward raising the ceiling. What’s the best result I can get? In endurance sport we define ourselves by our best result in history or our personal record—and I’m not convinced this is the best way to frame something we care so deeply about.

Andrew directs PT exercises at Territory Run Camp. PC Nick Danielson

True greatness isn’t one-off performances–it’s consistently performing well in the long haul. It’s raising the floor. So that day after day, when we stand up on our stage (be it the office, start line, or a real one)there is a baseline that we can expect. We show up knowing that we are going to be pretty darn good, even if the stars don’t align and everything doesn’t click.  

The goal of raising the floor isn’t meant to take away from those “flow state” performances–it’s about consistently positioning yourself on a floor that is high enough to achieve something great when the stars DO align.

Confidence comes from consistently having a higher floor of expectation of ourselves and the ability to walk onto your stage knowing that no matter how things unfold, you are going to show up and be pretty darn good.  I’m an advocate for raising the floor, not just the ceiling. 


Andrew works in Sports Medicine and Performance in Park City with the US Ski & Snowboard Team, USA Cycling, and Project Podium, a Team USA Under 21 Triathlon Development program. He has volunteered at the Olympic Training Center in Colorado Springs, worked with world-class runners in Mammoth Lakes, California, as well as raced and trained with elite-level athletes. Andrew earned his Doctorate of Physical Therapy from Franklin Pierce University in 2015 and started racing as a professional triathlete in 2013. As a clinician, Andrew is most interested in lower quarter biomechanics.

If you are interested in working with Andrew as a personal coach, reach him via email: fastafast@gmail.com or via social media: @fastafast.

Categories
Aspire Culture Blog Culture FAQ's Food Highlights on the fence Preparation registered runners Runner Resources update What to Expect on Trips

Glamp Out: The Aspire Basecamp

Exactly WHAT is glamping?

The Aspire basecamp is inspired by the culture of trekking in the Alps. European huts allow for a different kind of wilderness experience. Knowing there is a basecamp with full amenities at the end of your day means not only comfort, warmth, and a good night’s rest, but sometimes the important difference between safely pushing the limit and a dangerous epic. Aspire reproduces the European model with a playful combination of amenities and aprés- culture that allows runners to connect over shared adventure in incredible wilderness spaces.  

Grilling up summer veggies on the Lost Coast Trail.

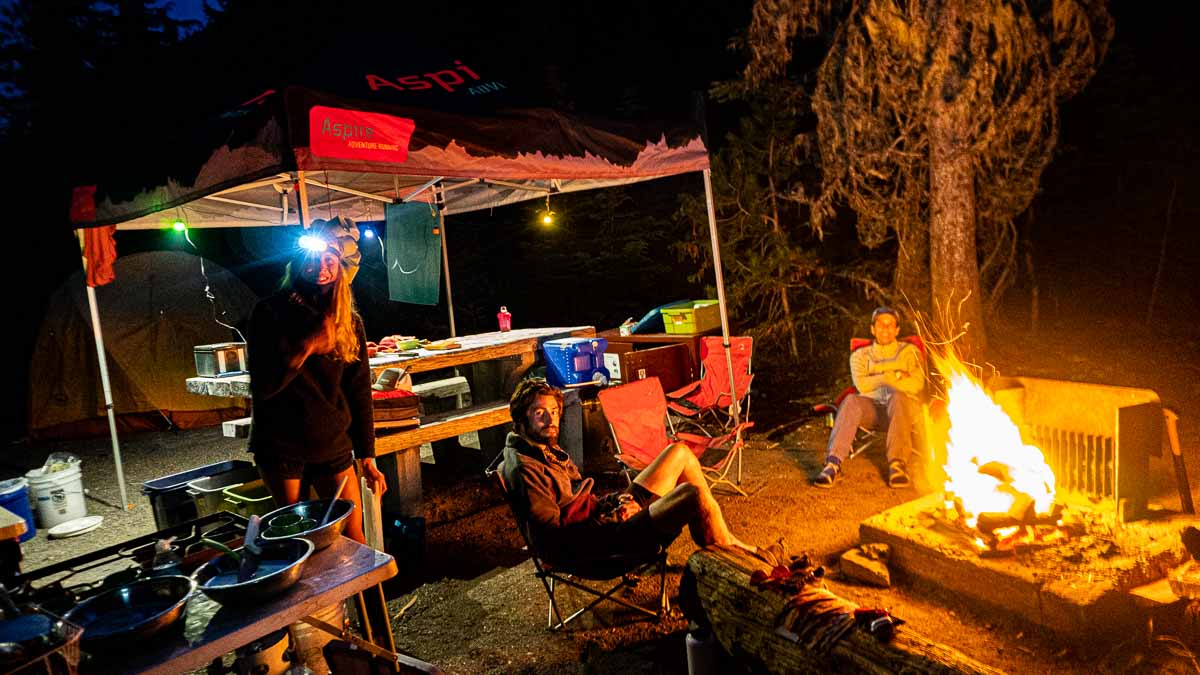
One of the main reasons so many runners come back to do trips with Aspire year after year is our next-level base camps. Our approach is a time-tested collection of details and creature comforts that sets the stage for recovery, relaxation and new friendships.

The Aspire Menu

You know that moment… you’re nearing the end of a long run (or maybe you just started) when all the delicious food you could be eating takes over your thoughts, with dreams of immaculate feasts overwhelming the mountain views. Yet often, post-run trailhead noms don’t progress beyond the bag of potato chips or trail mix stashed in the car.

Entry into Aspire basecamp is a different scene. Colorful appetizer spreads await runners stumbling in from the days journey. Don’t be surprised by the jar of homemade pickles or the figs from the garden. Fresh capresé? Check. We like good food and we like to share.

Meals continue the trend: Steak with summer veggies, salmon with rice pilaf and asparagus, Sierra bowls, and the famous Aspire tacos… this is not your standard trailhead menu.

Have a special requests for specific drinks, foods, or dietary needs? Say the word. Don’t eat meat? No problem. Allergic to peanuts? No problem. Craving strawberries? They’ll be at camp that evening. 

Food at basecamp strikes a perfect balance between recovery focused backcountry food and the truly gourmet.

Recovery

Glamping with Aspire means everything needed to recover from time on trail and prepare for the next day. When you have to wake up the next morning and tackle another big distance, you’ll be glad for the comfort and care you were able to give your body the night before.
Runners often finish the first day of a big trip like the Wonderland Trail and think they’re spent. They couldn’t possibly wake up and do it all over again the next day.

Time to unzip our camp care kit. Theraguns and foam rollers work the tension out of tired muscles.

Blisters? Our team of Wilderness First Responder certified guides is ready with our foot care kit and expert advice on blister management. Tomorrow isn’t only possible, but it’s going to be awesome!

Comfort

One word: SHOWERS! Yes, the backcountry shower is real, alive, and unbelievable refreshing. Warm water and soap go a surprisingly long ways towards revitalizing and rejuvenating.

Add to that our heaters and walled tents, and even the coldest alpine summer evenings are comfortable.

It’s not just about comfort. Being able to put the walls on our tents helps keep us warm and dry if the weather turns. The heaters don’t just warm up cold runners, they also dry out wet gear for the next day’s miles.

Connection

It’s been said that friendship is a history of shared meals… we extend that concept to miles, campfires, and sunsets. Aspire trips feature a healthy dose of all of the above, converging at basecamp. Not much beats recounting the days adventures and swapping mountain stories over beers, ciders or yes, margaritas.

Topped off with dessert, and you’ll find yourself feeling restored on mind, body, and soul levels.


We may not have European style huts in the US, but running a trip with Aspire is probably the next best thing. We bring your bags to camp for you, cook for you, and light up the campfire, all while leaving no trace. Everything in the Aspire model is designed to help runners achieve their goals out in deep wilderness with maximum enjoyment. It’s more fun this way. The food’s tastier, the beers are colder, the wilderness is wilder, and your big backcountry objectives are now within reach.

by Aspire guides Ian Carroll & Trent Banks

Check out our “What to Pack Blog” for details on what to to show up to Aspire trips with.

Categories
Blog FAQ's gear Highlights Preparation registered runners Runner Resources Trail Skills and Equipment update What to Expect on Trips

What to Pack for an Aspire Trip

The right gear enables the adventure. While trail runners pride themselves on ultra-light packs and a minimal set up, there are some items that are a must. From our REQUIRED and recommended gear, to the playful (trail beers, anyone?), read on for our detailed gear list that will empower you to go further, lighter, and safer into the freedom of the hills.

Runners going deeper in the Goat Rocks Wilderness

Running Gear

The required gear list for Aspire trips consists of the following:

1) Your stylin’ running threads.

Pack for the variable weather of the alpine terrain and valleys in the Pacific Northwest. ‘Nuff said.

2) A Waterproof layer to keep you dry no matter what blows in

“There is no bad weather, only bad clothing,” as the saying goes. Hypothermia is no joke, and runners covering long distances are at increased risk as their bodies manage the prolonged output, nutrition, and the dance with the elements. Fortunately, the right layers can function as a panacea, keeping runners (mostly) warm and dry. Alpine weather can be fickle, and we recommend bringing multiple coverage options with you

Coverage level: Drizzle

For light rainfall and warmer temps, look no further than the Patagonia Houdini Air. A personal favorite of our crew, it’s packable, lightweight, and weather resistant.

Coverage Level: Active Rain
When it’s raining in earnest, your runner will need more between them and the elements. For solid coverage and higher output runs, the Arc’teryx Norvan SL Hoodie is as good as it gets. Lightweight with breathable Goretex Shakedry, this jacket is great for prolonged running in the rain.


Coverage Level: Inclement
Sometimes, you need to batten down the hatches. If you’re headed out into the maelstrom in search of your own strange brand of nirvana (ours too!), the Outdoor Research Foray is a great option. This jacket is built out with the features to stave off the storm. The Foray’s side zips run from waist to bicep. This means the jacket can be worn over a pack with ease. Leaving the side-zips open increases the breathablilty, keeping sweat from comprising dryness from the inside.

The Patagonia Houdini in action.

2) Insulating layer for warmth on those ridgelines.

A breathable insulating layer is critical protection at higher elevations and colder temps. Look no further than the Patagonia R1 Hoody. Lightweight, quick-drying and incredibly breathable during higher output runs. Given all this, it’s surprisingly warm making it the perfect mid-layer for daylong mountain treks and beyond.

3) Fly trail kicks. Don’t forget socks.

We’ll save the hours of talk about which shoes, which socks, and why for the trail. Don’t leave them at home (we’ve all done it).

4) Running Pack/Vest

Sufficient to carry approx. 1+ liters of water, food stuffs, and clothing over long miles.

Ultimate Direction makes some great options. They provide our crew with Adventure Vests for the season and we use their Fastpack 30 as our “Oh Shit” pack, so we’re fast, light and ready to respond in any situation.

5) A headlamp to light the way home

The Petzl Nao

Even the most experienced runners occasionally underestimate how long they’ll be out. Runners should be prepared for the unexpected and take headlamps out anytime they head onto the trail. Look for a torch with an output of 400 lumens or higher, with solid battery life. Light output decreases as the battery drains, so look for headlamps with battery life at or above 5 hours at full power for runners putting in miles in the dark. We like the Petzl Nao because of its 700 lumen output, stability, and rechargeable battery.

6) Emergency Blanket

Best case scenario, you carry one of these light weight sheets with them for years and it never leaves its neatly folded square. Worst case scenario, it saves your life. Don’t be caught in a backcountry pickle without one. REI has great options.

7) Pack a Water Filtration system and bottles.

Many of the areas where we run trips feature ample water sources. We require the capacity to carry 1-1.5 liters of water.

Trail runners ranging more than a few miles from the car (that’s you, Aspire runner!) will need to carry means of purifying their water. There are a plethora of options out there, from iodine pills to inline filters, to our suggestion for the fast and light… the Katadyn BeFree. It enables you to drink directly through the filter and it’s soft pack bottle saves space and weight. The Saloman XA filter is another good option with very similar technology and different flask sizes.

8) GPS Navigation

Modern technology means backcountry navigation has never been easier. Aspire requires that our runners hit the trail with some type of navigation. We encourage Gaia GPS, an app for smart phones that holds map layers and GPS tracks. A $20 subscription to Gaia Premium comes with extensive map overlays, making great gifts for trail runners who like to get into the weeds exploring remote mountain nooks and crannies. Note: GPS devices and apps are not a stand-in for backcountry navigation skills. Learn more about Aspire’s approach to backcountry navigation.

The Garmin inReach mini

Bonus: Some extra security for the loved ones waiting at home.

For an added level of safety, the Garmin inReach Mini features SOS, two-way text messaging, weather and location sharing. This device can make all the difference when things go sideways far from help.

9) COVID Mask

See our Covid-19 Guidelines for pandemic protocols.

Other recommended on-trail gear:

-Creams: Sunscreen, Anti-chafe, Lip balm.
-Hat & Gloves
-Poles
-GPS Watch, Camera, SPOT
-Hat, Visor, Buff
-Insulative Layer

Camping Gear

The shortlist of camping gear you won’t want to forget when packing for your Aspire trip.

Note: All personal gear must fit in a duffel or pack
for shuttling. Ideally this duffel would be
between 85-120 Liters.

Cush rental gear for the win!

-Sleeping bag, pad, tent *
-Personal toiletries and towel
-Post run comfort clothing and shoes
-Swimsuit, sandals, and beachwear
-Post-run wear, pants, insulative jacket, hat
-Rain jacket and pants
-Bug Spray
-Headlamp

Rental Kits

** A $150 gear rental package can be purchased that includes a sleeping bag, a sleeping bag liner, a sleeping pad, a pillow, and a 2-person tent from our friends at ExPed. We speak from experience when we say that ExPed’s set-up takes camp comfort to a whole new plane.

Show up with everything mentioned here and you’ll be well on your way to an incredible time in the mountains. See you at the rendezvous spot!

Big views on the Wonderland Trail
Categories
Aspire Culture Blog Culture Highlights Preparation registered runners Runner Resources Wild

Becoming a More Mindful and Eco-Conscious Trail Runner

Earth Day – aside from one day to simply declare your love and good intent to care for the environment and move on, Earth Day is a movement and commitment towards taking environmental action for the long haul. 


We are trail runners! We spend hours on the trails, pushing our physical and mental limits, enamoured by the beauty of the trails and having a deep love for the natural landscapes our two feet can take us. You’d think our outdoor exploration and immense appreciation for running in natural areas would directly correlate to environmental care right?!

Well, yes and no. While trail running is certainly a lower impact outdoor sport, everything we do still has its impact. With mindful intent and purpose in how we recreate outside, we can work towards becoming more informed and better stewards of the Earth. 

Between single-use plastics and wrappers from bars, gels and sports drinks, driving to the trailheads or flying to your destination race, and running in these often remote and wild natural areas – every action we take has an impact on the environment.


So as avid trail runners and trail users, what measures can we take to support and care for the natural areas we inhabit? 

Plogging and ‘Taking 3 for the Trail’

Pick up trash on the trails! Plogging is a fusion of jogging, with the Swedish expression ‘plocka upp’ meaning to collect. Picking litter off the trails is an easy and effective way to clean up the natural areas we explore. And why not join the ‘Take 3 or the Trail’ movement by picking up three pieces of trash every time you’re on the trails. Remember, if you don’t like seeing garbage on the trails, the next person on the trails won’t either, so consider picking it up to make a cleaner environment for everyone to enjoy. 

Hop on a Bike or Carpool

We are trail runners, we LOVE human-powered adventures! So why not take it a little further and create a completely human-powered adventure by hopping on your bike (or maybe even paddle) to reach the trailhead before your run.  Alternatively, carpooling or finding rideshares always beats out a solo drive to the trails. 

Go Back to the Basics with the Leave No Trace Principles! 

Plan ahead and prepare:

  • Research where you are going, what gear is necessary, and ways to lessen your impact on the area. Preparation can ensure greater safety and minimize resource damage to the site.

Travel on Durable Surfaces

  • Always stay on marked trails to avoid damaging delicate terrain and vegetation. 

Dispose of Waste Properly

  • Pack in what you pack out.  Be especially mindful of small pieces of trash such as the tops of gel wrappers and toilet paper. 

Leave What You Find 

  • See a beautiful rock or flower on the trails? Take a photo instead of taking the object back with you.  If you enjoyed its beauty, it’s likely the next trail user will appreciate it as well. 

Minimize Campfire Impacts

  • First and foremost, be informed of the area’s local fire regulations and rules.  If you are able to safely have a fire, ensure it is on a designated fire site or on a durable and safe surface to reduce environmental impact.

Respect Wildlife

  • Travel respectfully and do not pursue, feed or force animals to flee. For most wildlife, passing quietly is best, however, when in bear country it is good to make noise to ensure your safety.  Always keep a respectable distance between you and all wildlife. 

Be Consideration of Other Visitors  

  • Trail Runners aren’t the only users on the trails.  Trails may have a blend of hikers, bikers, and even horses.  It’s important to be kind, respectful, slow down and not crowd another’s person’s space. 
Engage in Gear Swaps and Utilized Used Gear

With new colours, styles, and trail running gear being released every season, it’s easy to jump on the bandwagon of new trail gear. However, while many of these brands represent outdoor pursuits and claim to be more sustainable, often, they still fall into the avenue of fast fashion with harsh environmental impact and unfair working environments for their employers.  Instead of opting for new, consider used and second hand.  It’s also important to ask yourself if your gear needs to be replaced in the first place. Remember: the most sustainable gear you have is the gear you already own.  

Give Back through Volunteering

What local trails do you spend the most time on? Make a fun day out of it with friends, by getting active and outside through local trail maintenance. This can be surprisingly easy to get involved with, often by simply reaching out to a local running store or municipal park to learn more.

Donate

Consider donating to organizations that are doing their part in caring for the climate!  Research and find organizations that you feel personally passionate about.  Maybe it’s clean water and ocean initiatives, plastic pollution, local trail associations, community gardens, National Parks or another organization you feel personally connected to.  Whatever it may be, make it personal and meaningful to you. 

Vote

While personal lifestyle changes and mindfulness of we utilize outdoor spaces, political and large-scale action is also greatly necessary for environmental sustainability and lasting change.  Voting in local, state, and federal elections is key to having your voice be heard and be a part of decision-making that affects you, your community and the planet.

Speak up

Be an advocate for the planet both on and off the trails! Speak to others about how we can collectively come together to ensure a more sustainable and healthy future. Whether it’s getting involved and speaking on a larger scale, or having conversations with a few of your friends on the trails. Even small conversations are impactful and can create ripple effects to waves of great change spreading to others.  Don’t forget that the words we speak have the power to turn into big action, which is the catalyst for radical change.  
What action can you take TODAY to be a more mindful, eco-conscious trail running and steward of the Earth?


Kara Folkerts is a plant powered trail runner, sustainable travel advocate, yoga teacher, and passionate about all things sustainability, travel, health, and outdoor movement.  Originally from Canada, Kara has spent the last few years exploring and living abroad in various countries across the globe before joining the Aspire crew in 2020. Kara has been guiding various trail running, sustainability, and health retreats internationally since completing her undergrad in Ecotourism and Outdoor Leadership.  With all of these experiences, she seeks meaningful connections with others, loves to learn of new cultures, and fosters the mindset of a lifelong learner.  With a big heart for trail running and exploring wild places, she’s always stoked to get out there with others. 

She writes about all her adventures on her blog at www.karafolkerts.com and on her instagram @karafolkerts

Categories
Blog FAQ's Highlights Logistics nutrition Preparation registered runners Resources for Registered Runners Runner Resources update What to Expect on Trips

When Things Go Wrong On the Trail

It’s inevitable, not all days on the trail will go smoothly. Aspire provides the backbone of information and preparation to mitigate risks, but when things don’t go according to plan, we approach challenging situations with focus. The Aspire crew enter each season with current Wilderness First Responder certifications, and hit the trails with extra fuel and water, a fully stocked first aid kit and a Delorme InReach for emergency communication between staff and emergency services if need be.

Wilderness travel is accompanied with inherent risk. With that in mind, Aspire approaches each trip with protocols in place to mitigate that risk.

The Safety Sandwich

When runners head out on the trail, an Aspire crew member leaves with them. This runner takes the role of “Sweeper”. The sweeper travels at the back of the pack, ensuring no runner is left behind.
Later in the day, another Aspire crew member heads out from the route’s finish in the role of “Super”. The super carries additional calories, electrolytes and hydration, and runs out to meet runners as they come in on the trail. When the sweeper and the super meet, they confirm that all runners are accounted for and share any important info about runner conditions.

Inclement weather

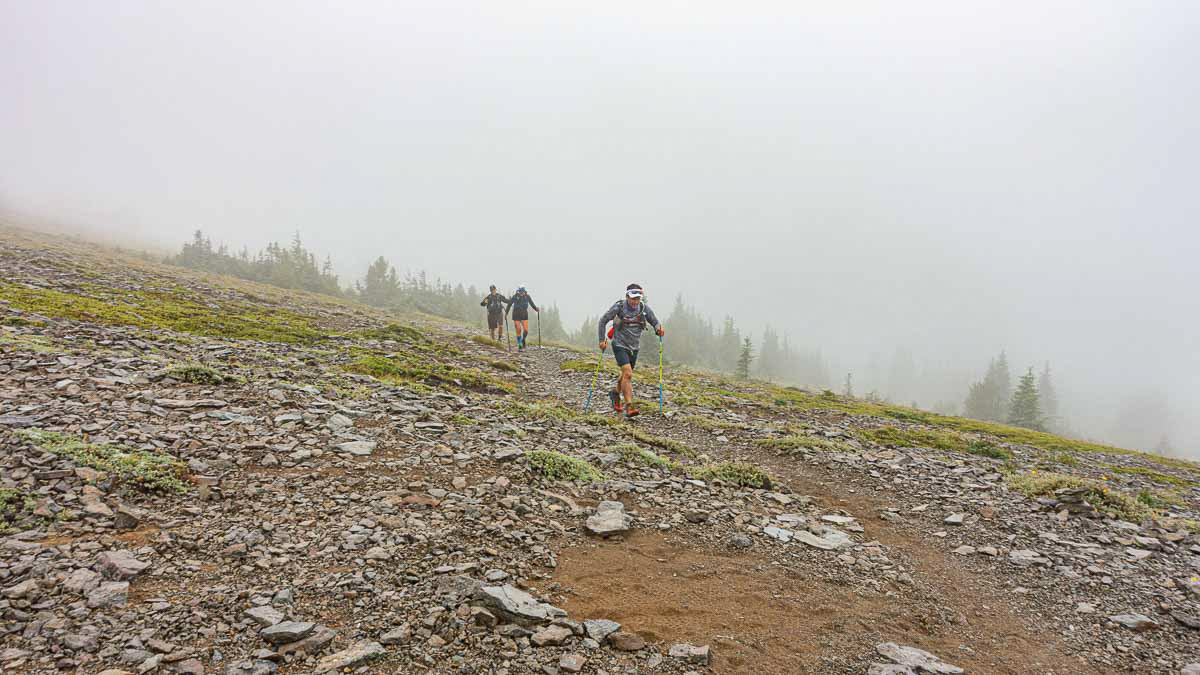
When traveling in the mountains, unexpected shifts in weather have to be expected. The Aspire season stretches from May to October, and heat, big rain storms, lightning, fog, snow and freezing temperatures are all possibilities. We do our best to prepare all participants for a safe and comfortable experience with a required gear list and pre-trip weather briefings.  Insulating layers, a rain jacket, buff, emergency blanket, headlamp, and GPS are all a part of our required gear list.
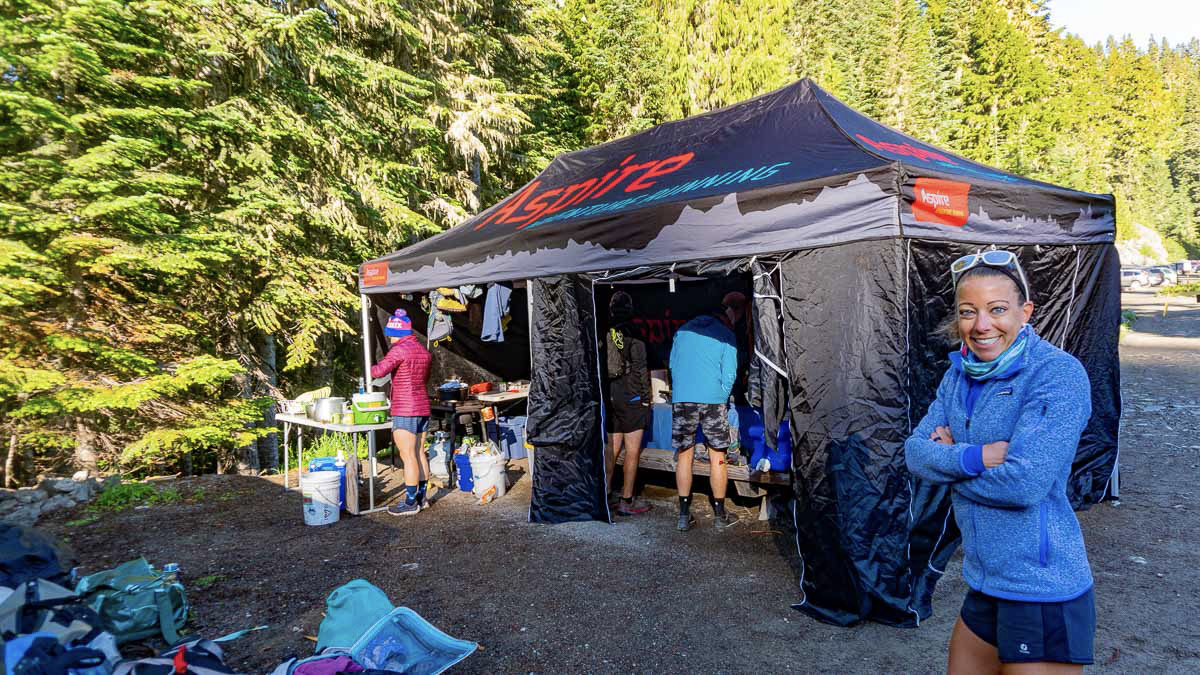
Any runner who’s finished a rainy race knows it doesn’t take long after you stop running for your core temp to drop and the chill to set in. This is where our Aspire base camps really shine.  We deck our walled 10′ x 20′ tent out with propane heaters to create an incredibly warming atmosphere for you to hang out in and warm up after a cold day on the trails.  Oh, did we mention hot showers? When it comes to cold days, we’ve got you covered. 

Feeling Sick on the Trail

We like to call this the ‘puke and rally’ and we’ve seen it multiple times on the trail – runners fall ill while on the trail, recover, and dig deep for that final push to make it to camp in the evening. Whether the heat has become all too much, you ate something bad, have nerves creeping in or dehydration has made you weary and sick, our guides hit the trail with the knowledge, mindset and supplies to help you continue moving on trail, supply the proper fuel, water or medication necessary, or prepare for a potential night on the trail with additional comforts if it becomes too much.   

Dehydration and Bonking

Balancing nutrition with exertion on big runs is a core challenge of mountain running. Inadequate hydration and fueling during big days on the trail is all too common for many folks.  We understand that high heat or feeling too cold can play into how much you feel like eating or drinking on any given day on trail. Every body is different, but eating consistently and maintaining an hourly caloric intake of between 150-300 calories will ensure your body has the spark needed to keep moving. Depending on the weather, hydration should be near constant, with electrolytes balanced with water intake.
Aspire provides an assortment of bars and electrolytes, as well as a ‘lunch bar’ each morning for runners to pack for the trail. This includes all the fixings to make a lunch wrap or sandwich and an endless variety of bars, gels, chews, and snacks. Our advice: LOAD UP!
As a fail-safe, our crew carries backup fuel and water filtration for runners who may fall short.

Injury on the Trail

All Aspire guides hold current Wilderness First Aid Responder certifications. They each carry a well equipped first aid kit, Garmin InReach, and two-way radio, should the need for emergency communication be necessary.  Our team applies our knowledge, risk management, and skill base to come to the best decisions possible for various injuries and medical emergencies. 
Our guides see a range of common injuries, and we’re pros at wrapping ankles and treating blisters. While we hit the trail expecting the nothing but miles of incredible running, we are prepared for anything. Should an injury inhibit movement, our crew works with the runner to gauge severity and make an evacuation plan. Information on our evacuation policies is provided in the pre-trip course packet.

The Unexpected Bivouac

In a worse case scenario, where a runner is unable to make it to camp due to fatigue or injury, it’s important to be prepared to camp in the backcountry overnight.  Every runner making it to camp each night is one of our highest priorities, but if circumstance decides otherwise, the Aspire team will work to make the night as safe as possible. When it becomes clear a backcountry bivy is likely, the “OH SHIT” pack comes out. This pack includes additional shelter, gear and calories. Our staff will communicate with each other, and a member of our camp team will make every reasonable effort to reach the stranded party with a resupply.

At this point, you’re solidly within type 2 fun territory, but hey, if you bivy out in the wilderness one night and go home healthy and well at the end of a trip, it will only add to your list of epic backcountry stories! 

Navigational Errors and Lost Runners 

Getting lost sucks, but it happens.  Taking a wrong turn or getting off route can happen for a variety of reasons.  We understand the varying levels of comfort and knowledge runners have with backcountry navigation and we make sure to have these conversations with runners before heading on the trails.  Prior to each day on trail, we hand out maps and go over the course information for the day.  We highlight potential places for navigational errors and want all of our runners to go out feeling confident in their ability to move through the terrain.  But even with these implemented measures, runners may find themselves off route.  

In the case of a lost runner, our guides note the time that the runners(s) went missing, identify the strengths and liabilities of the missing runner(s) and review the trail, terrain, trail intersections, possible points of interest, and obvious detours and distractions within a five mile radius.  Based on the specific terrain, runner, and weather conditions, our guides will make an initial search plan. If the runner(s) are not located within two hours, our Aspire staff will return to camp. At this point, any “Lost Runners” are declared AWOL.

Once runners have been declared AWOL, an incident form is initiated. A secondary search plan is created based on the weather, terrain, and resources to initiate a secondary search. As all Aspire clients are required to be equipped for an emergency bivy, in most cases this secondary search will begin the following morning. Any secondary search will require an Aspire staff person to remain in camp at all times. After 12 hours of AWOL status with the missing runner(s), an emergency external runner search will be initiated. This external search will include notifying the appropriate land use agency, activating local search and rescue support, and notifying the emergency contacts of the missing person(s). 

Our highest priorities are for our runners health and safety for each trip, among endless miles of enjoyment and fun. Our protocols and expertise are developed to mitigate major risk factors and respond effectively when things go wrong on trail to get you home safely, while enabling epic backcountry adventures.  


Kara Folkerts is a plant powered trail runner, sustainable travel advocate, yoga teacher, and passionate about all things travel, sustainability, health, and outdoor movement. Originally from Canada, Kara has spent the last few years living and travelling in various places across the globe, guiding trips and going on personal expeditions before joining the Aspire crew in 2020. She writes about her experiences and adventures on her blog at www.karafolkerts.com.

Categories
Blog FAQ's gear Highlights Logistics Preparation registered runners Resources for Registered Runners Runner Resources Trail Skills and Equipment update

Backcountry Navigation: The Aspire Model

Aspire trips are defined by wilderness and backcountry spaces. These trips are NOT races, so you won’t find course markings or aid stations. Instead runners will experience remote trails, unreliable cell phone coverage, limited road access, and rugged isolation. Familiarity with and acceptance of the risks and rewards of backcountry travel are an important pre-requisite when preparing for an Aspire trip or any backcountry travel.


One of the great joys of backcountry travel is the problem-solving and independence that comes with route finding and navigation. This is a process of learning to think in terms of topography, drainages, elevation and build an overall picture of the landscape by looking at maps, landforms, distances traveled, and elevation profiles. These skills are a life long practice, honed over years of experience across seasons, terrain, and weather conditions. This post is designed to help runners understand how we approach independent travel and basic navigational tools for Aspire trips.

The Aspire Model: Run with The Guides or Travel Independently

We celebrate that runners of diverse ages, paces, and backcountry experience levels can all successfully participate in our trips. While this diversity present some challenges, we’ve built a model that works across a range of courses and terrain. For more details on our Safety Sandwich and group travel, read our post on How Fast Do I Need to Be for An Aspire Trip.

Given the range of paces that exist in any group, we do NOT expect runners to travel as a group. While running with Aspire staff is always an option, it is not a requirement. Independent travel may happen alone or with other runners, but any travel separate from our staff means accepting responsibility for route-finding and navigation. For that to be successful we use following processes and tools.

Runner Profiles: Our Pre Trip Calculus

Before each trip we ask runners to complete our Runner Profile survey. This set of questions asks about medical issues and dietary preferences as well as detailed questions about race history, backcountry experience, and training runs completed in preparation for the trip. These questions along with information we gather in person before each run helps give us understand each runners experience and comfort level with navigation. We want to be sure that each runner has the skills and the legs that match the course they’ve signed up for.

Elevation Profiles Topographical Maps and Pre Trip Info Sessions

For every trip we supply runners with topographical maps, elevation profiles. and daily course briefings. Each info sessions conveys the essential navigational principles connected to each day of running. These talks include: up to date trail conditions, over all mileage, elevation gain, water sources, and points of interest. We’ll also cover required and recommended gear for each day of running. Our staff are available to check gear, clarify questions and make sure you are headed out each day with confidence.

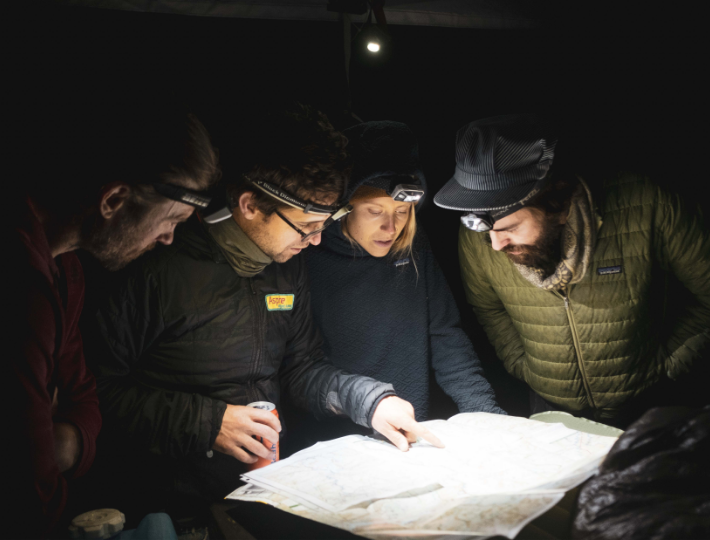
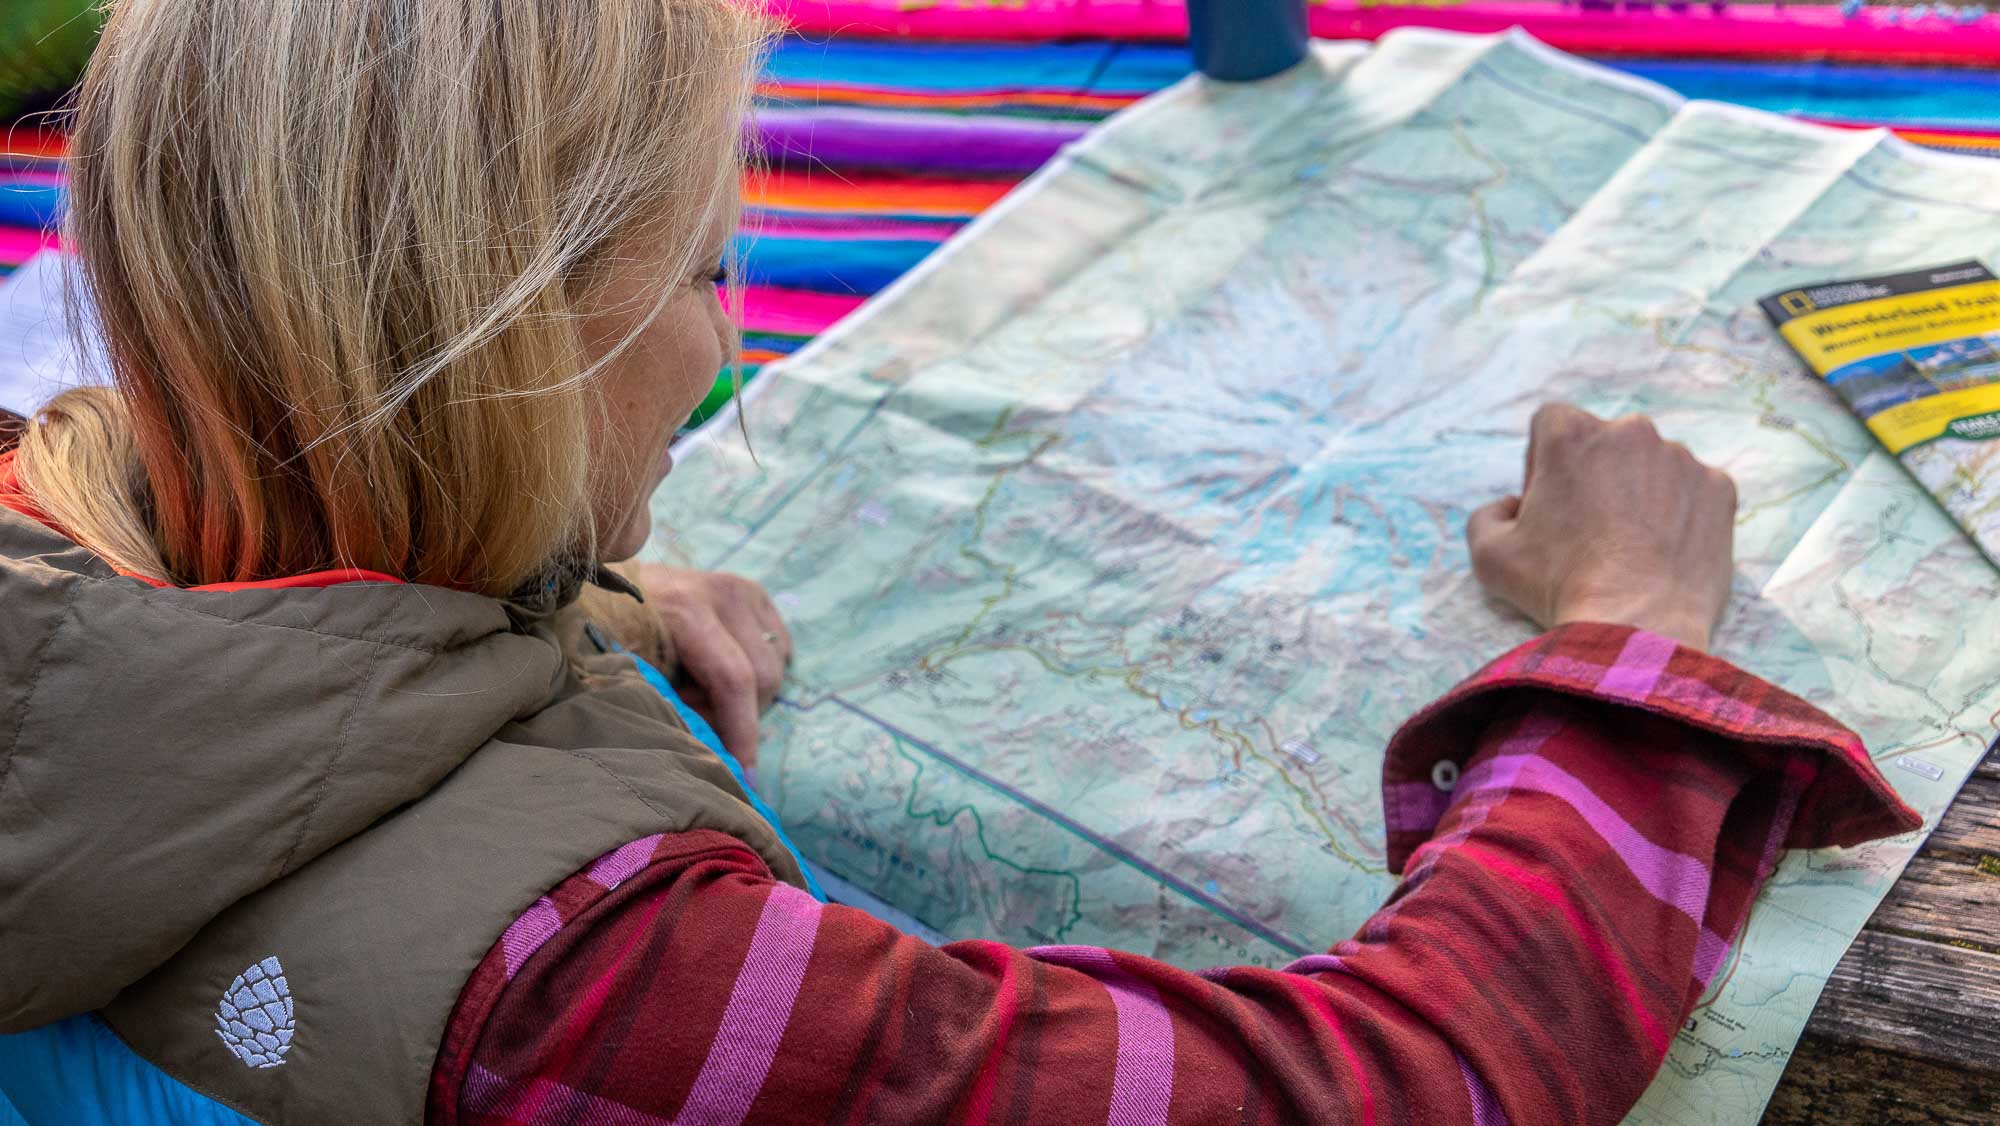
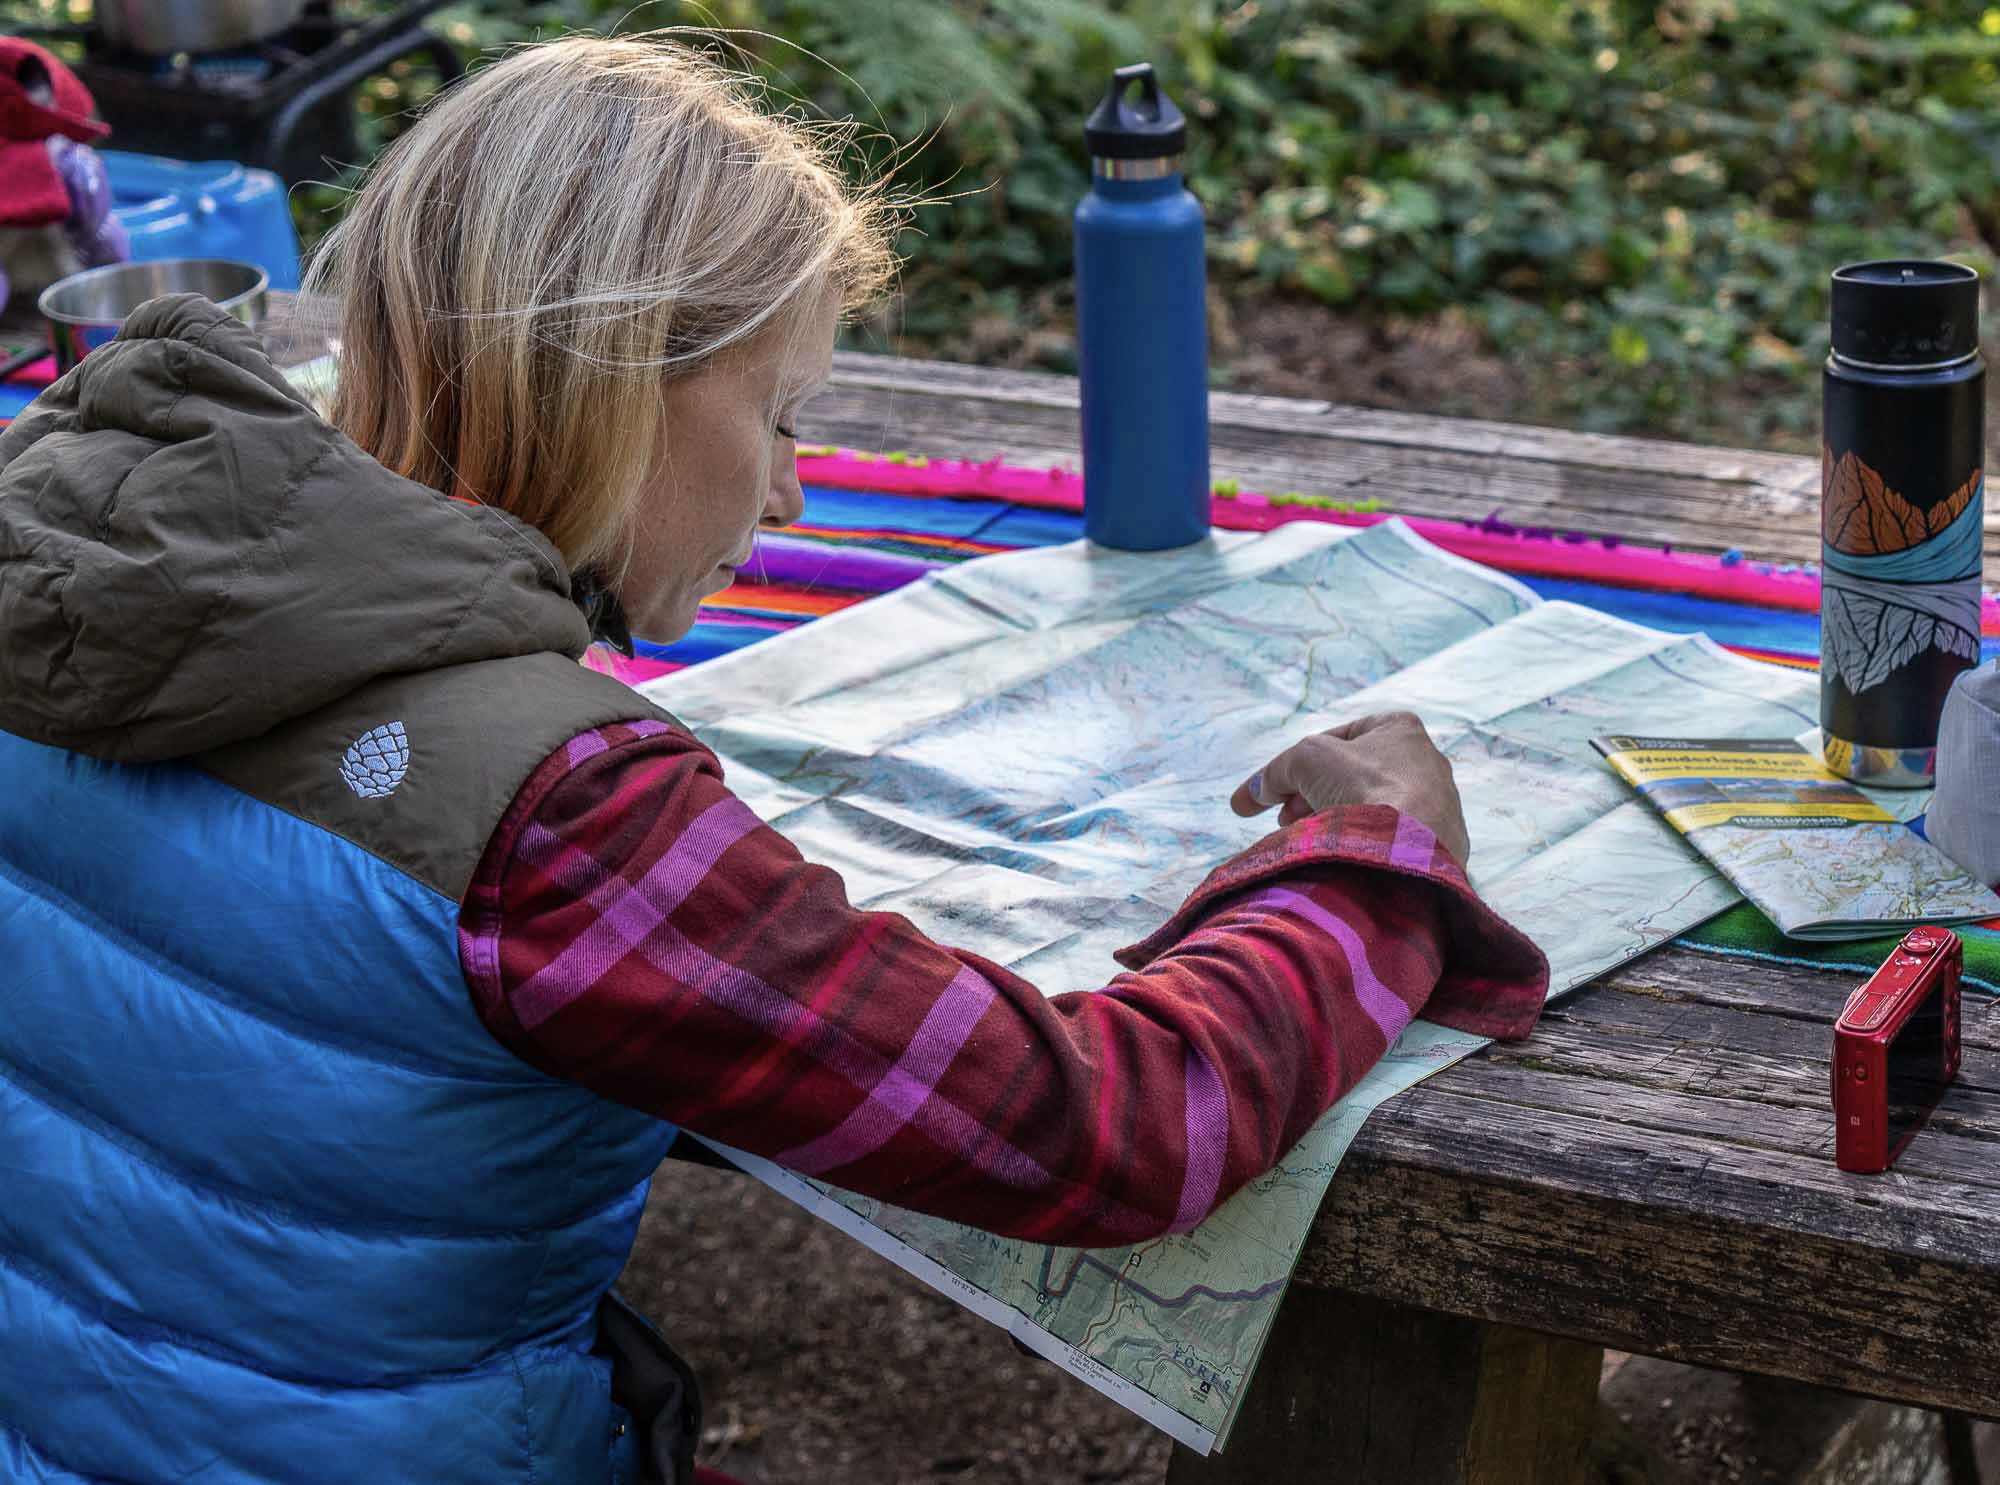
Paper maps accompany each info session and we encourage runners to carry a paper map with them at all times on the trail. Map reading skills form the foundation to any backcountry adventure. If you don’t have much practice with topo maps, we hope that you’ll spend some time familiarizing yourself with developing that skill. This post on How To read Topographical Maps is a great start. During your trip we’re happy to spend time together with the map interpreting topography, contours, scale, and answer any map/route questions you have.

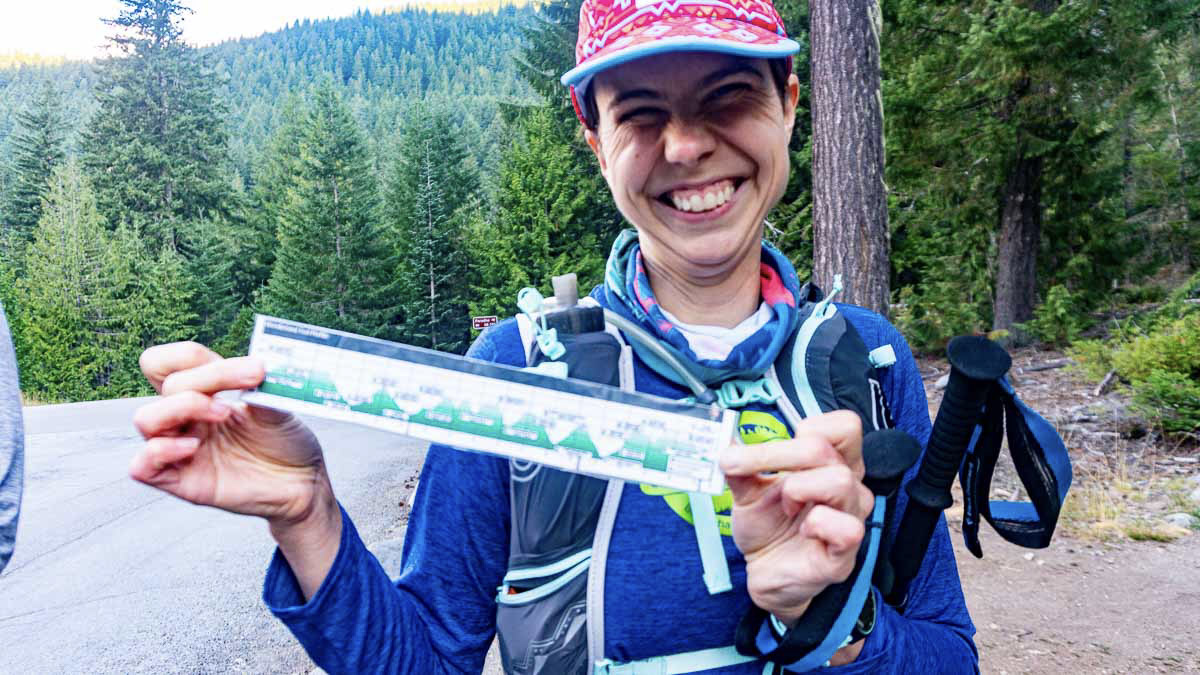
With maps we also supply an elevation profile of each day of running. This snapshot depicts the amount of the climbing and descending connecting to each day of running. Paired with a map these tools convey the essential info needed for each day of running.

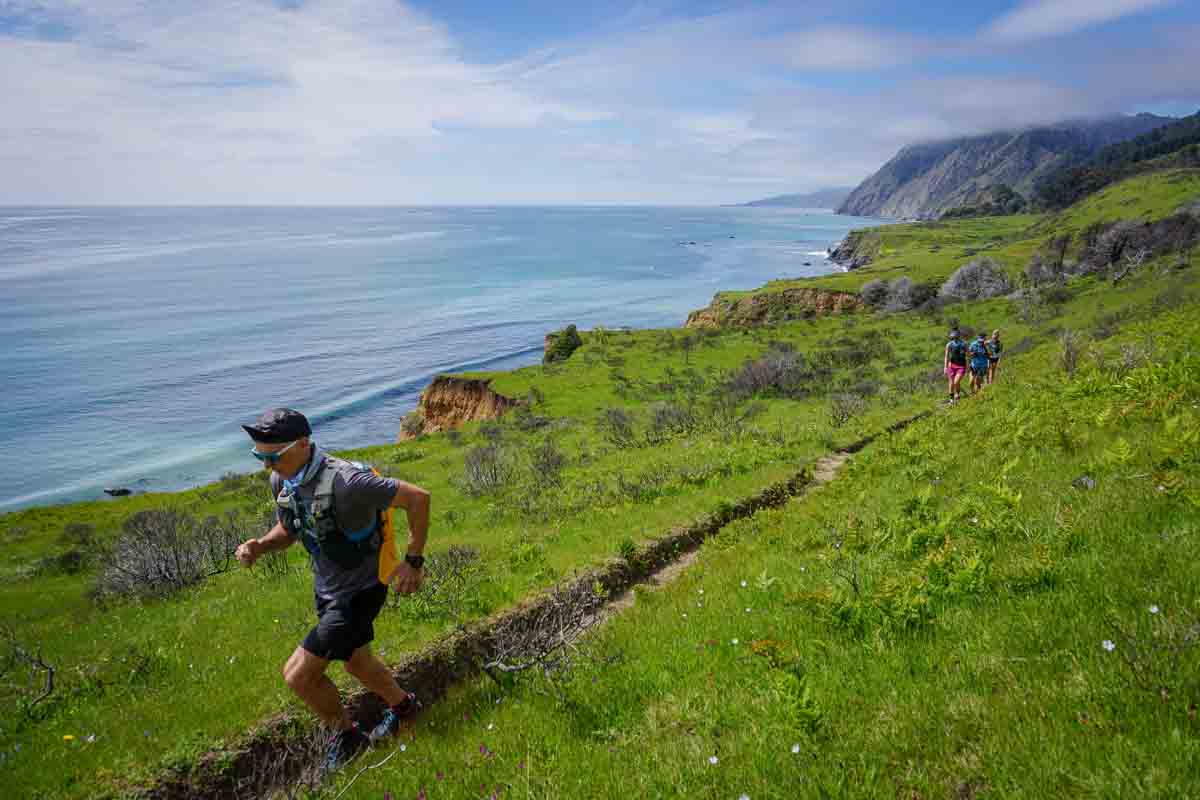
Trail running on the Lost Coast, California

Digital Navigation Tools: GPX Files and Gaia GPS

Incredible amounts of digital information connected to navigation and route finding are available in the modern era. Navigating effectively with these tools requires practicing with them in advance and understanding their limitations. Electronic tools are subject to battery fatigue, moisture, temperature, and don’t hold up well when dropped in rivers or onto rocks. They are however extremely useful when navigating in situations with poor visibility and when trying to determine ones exact location

Gaia GPS is a navigation app (available for IOS or Android) that has become the industry standard.  While a free version is available, we STRONGLY ENCOURAGE you to download the membership version ($19.99 a year) that will allow you to download existing maps (including National Geographic trail maps) which are very valuable for our trips. GPX files from Caltopo can be downloaded from the course packet and uploaded into Gaia for use on our trips (please do this before the trip). You can use Gaia offline once you’ve downloaded the appropriate maps, so you won’t wear down the battery.

Getting Started with Gaia GPS

Playing with this stuff and getting familiar with it is an important part of of preparation for an Aspire trip. Make sure that you practice with Gaia on your phone, experimenting with settings and getting used to using it. Ideally, start a few months before your Aspire trip and take it out on some runs with you and use it.  See how accurate it is, or isn’t. See how your phone battery holds up while using it at different settings. See what your favorite map colors are! 

Below we’re including a few introductory tips for exploring GAIA GPS. You can find even more guidance at https://help.gaiagps.com/hc/en-us

Settings

One thing that can really helpful to familiarize yourself with it is to try different  settings.  You can find the settings button on the bottom right of the screen: 

Once in settings, you can work on adjusting settings, which can affect everything from colors and appearance to the intervals at which distances are marked.  

One thing that is quite helpful is to go to the “Power Saving” Menu and familiarize yourself with it, so that you know how to get the most out of your phone on long days.See how long your phone battery lasts while you use it.   

How to Download a GPX File in GAIA GPS:

You’ll find this really useful when you download the Caltopo maps from the coursepacket:

  1. Open the app and tap “Map” in the bottom menu bar
  2. Tap “+” in the top menu bar
  3. Tap “Import File”
  4. Browse for the file and tap it

Other Electronic Resources

  • A small battery and charging cord for your phone. We’re often covering significant miles, and sometimes batteries can get low. Having a backup power source can make the end of the day less stressful if you’re trying to navigate with Gaia GPS and your phone’s power is getting low. 
  • A GPS watch that can keep track of mileage. Companies like Suunto, Garmin and Coros all make watches like this. Some of them also have navigation and map capabilities, and even ways to backtrack. Sometimes just knowing how far you’ve gone or what elevation you’re at can help you make sense of where you are.
  • A satellite/beacon/communication device like a Garmin Inreach or a Spot. These are certainly not necessary, but if you already have one, bring it, if just to practice. It’s one more tool in the kit. Your Aspire guides will each have one of these as a safety measure.

Over the course of your days with Aspire, you’ll learn about off-trail navigation and route-finding tips, risk and objective hazard analysis. While safety is our highest priority, fun and education are also really important to us. We want you to have the best possible experience, and for you to feel confident, strong, and resilient. If you know where you are and where you’re going, you’ll run better, feel stronger, and have WAAY more fun.  We look forward to sharing these incredible landscapes and skills with you.