
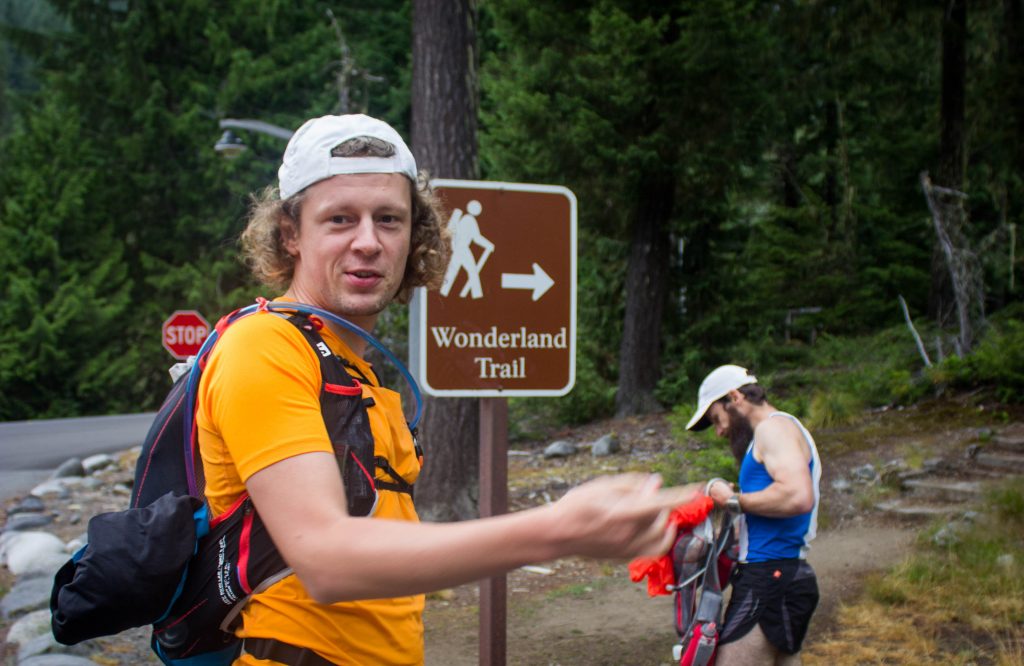
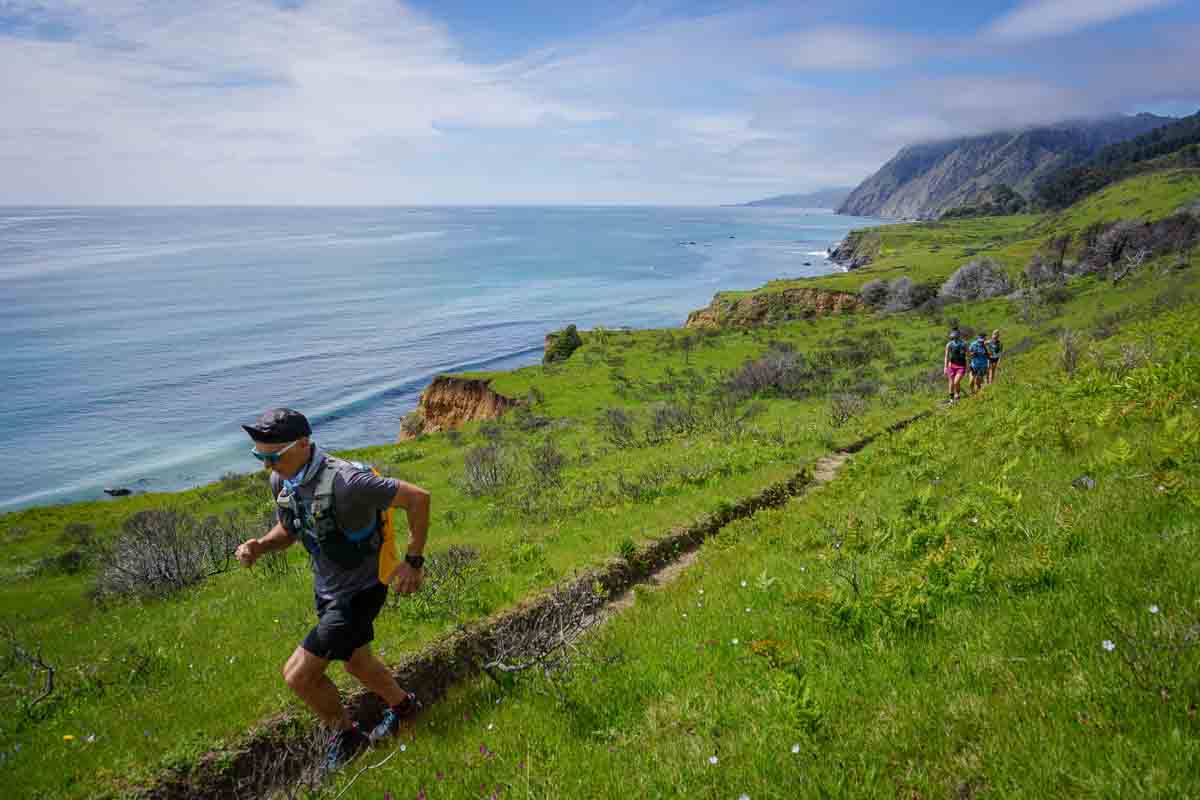
Aspire trips are defined by wilderness and backcountry spaces. These trips are NOT races, so you won’t find course markings or aid stations. Instead runners will experience remote trails, unreliable cell phone coverage, limited road access, and rugged isolation. Familiarity with and acceptance of the risks and rewards of backcountry travel are an important pre-requisite when preparing for an Aspire trip or any backcountry travel.
One of the great joys of backcountry travel is the problem-solving and independence that comes with route finding and navigation. This is a process of learning to think in terms of topography, drainages, elevation and build an overall picture of the landscape by looking at maps, landforms, distances traveled, and elevation profiles. These skills are a life long practice, honed over years of experience across seasons, terrain, and weather conditions. This post is designed to help runners understand how we approach independent travel and basic navigational tools for Aspire trips.
The Aspire Model: Run with The Guides or Travel Independently
We celebrate that runners of diverse ages, paces, and backcountry experience levels can all successfully participate in our trips. While this diversity present some challenges, we’ve built a model that works across a range of courses and terrain. For more details on our Safety Sandwich and group travel, read our post on How Fast Do I Need to Be for An Aspire Trip.
Given the range of paces that exist in any group, we do NOT expect runners to travel as a group. While running with Aspire staff is always an option, it is not a requirement. Independent travel may happen alone or with other runners, but any travel separate from our staff means accepting responsibility for route-finding and navigation. For that to be successful we use following processes and tools.
Runner Profiles: Our Pre Trip Calculus
Before each trip we ask runners to complete our Runner Profile survey. This set of questions asks about medical issues and dietary preferences as well as detailed questions about race history, backcountry experience, and training runs completed in preparation for the trip. These questions along with information we gather in person before each run helps give us understand each runners experience and comfort level with navigation. We want to be sure that each runner has the skills and the legs that match the course they’ve signed up for.
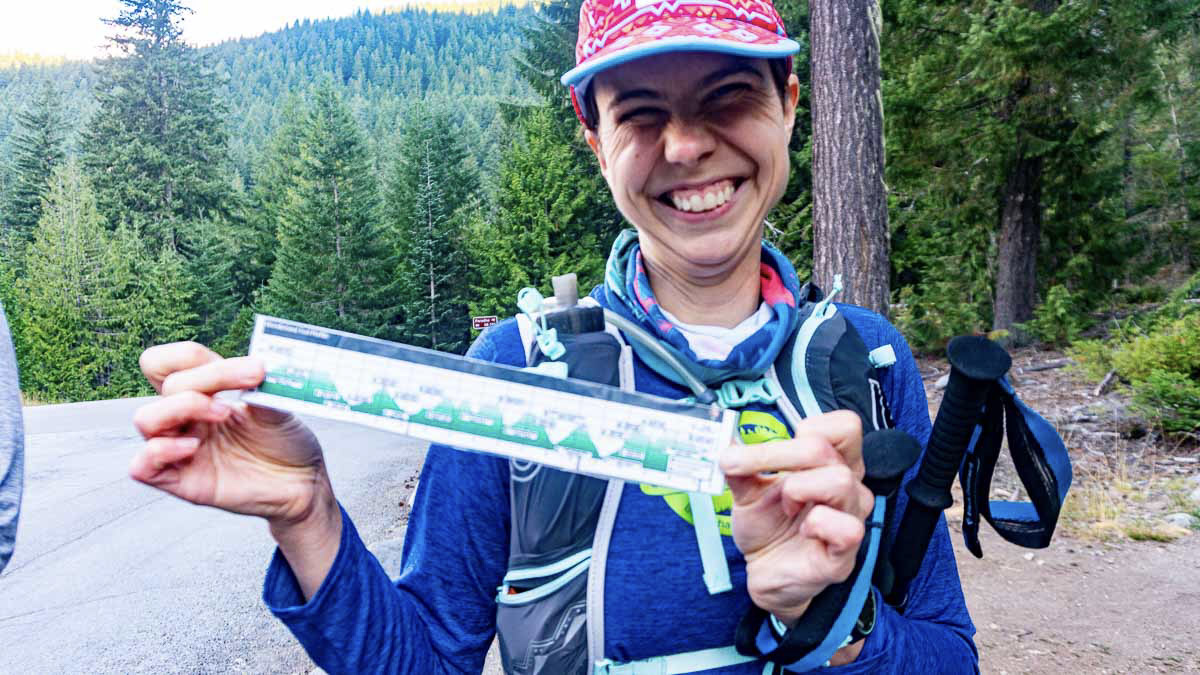
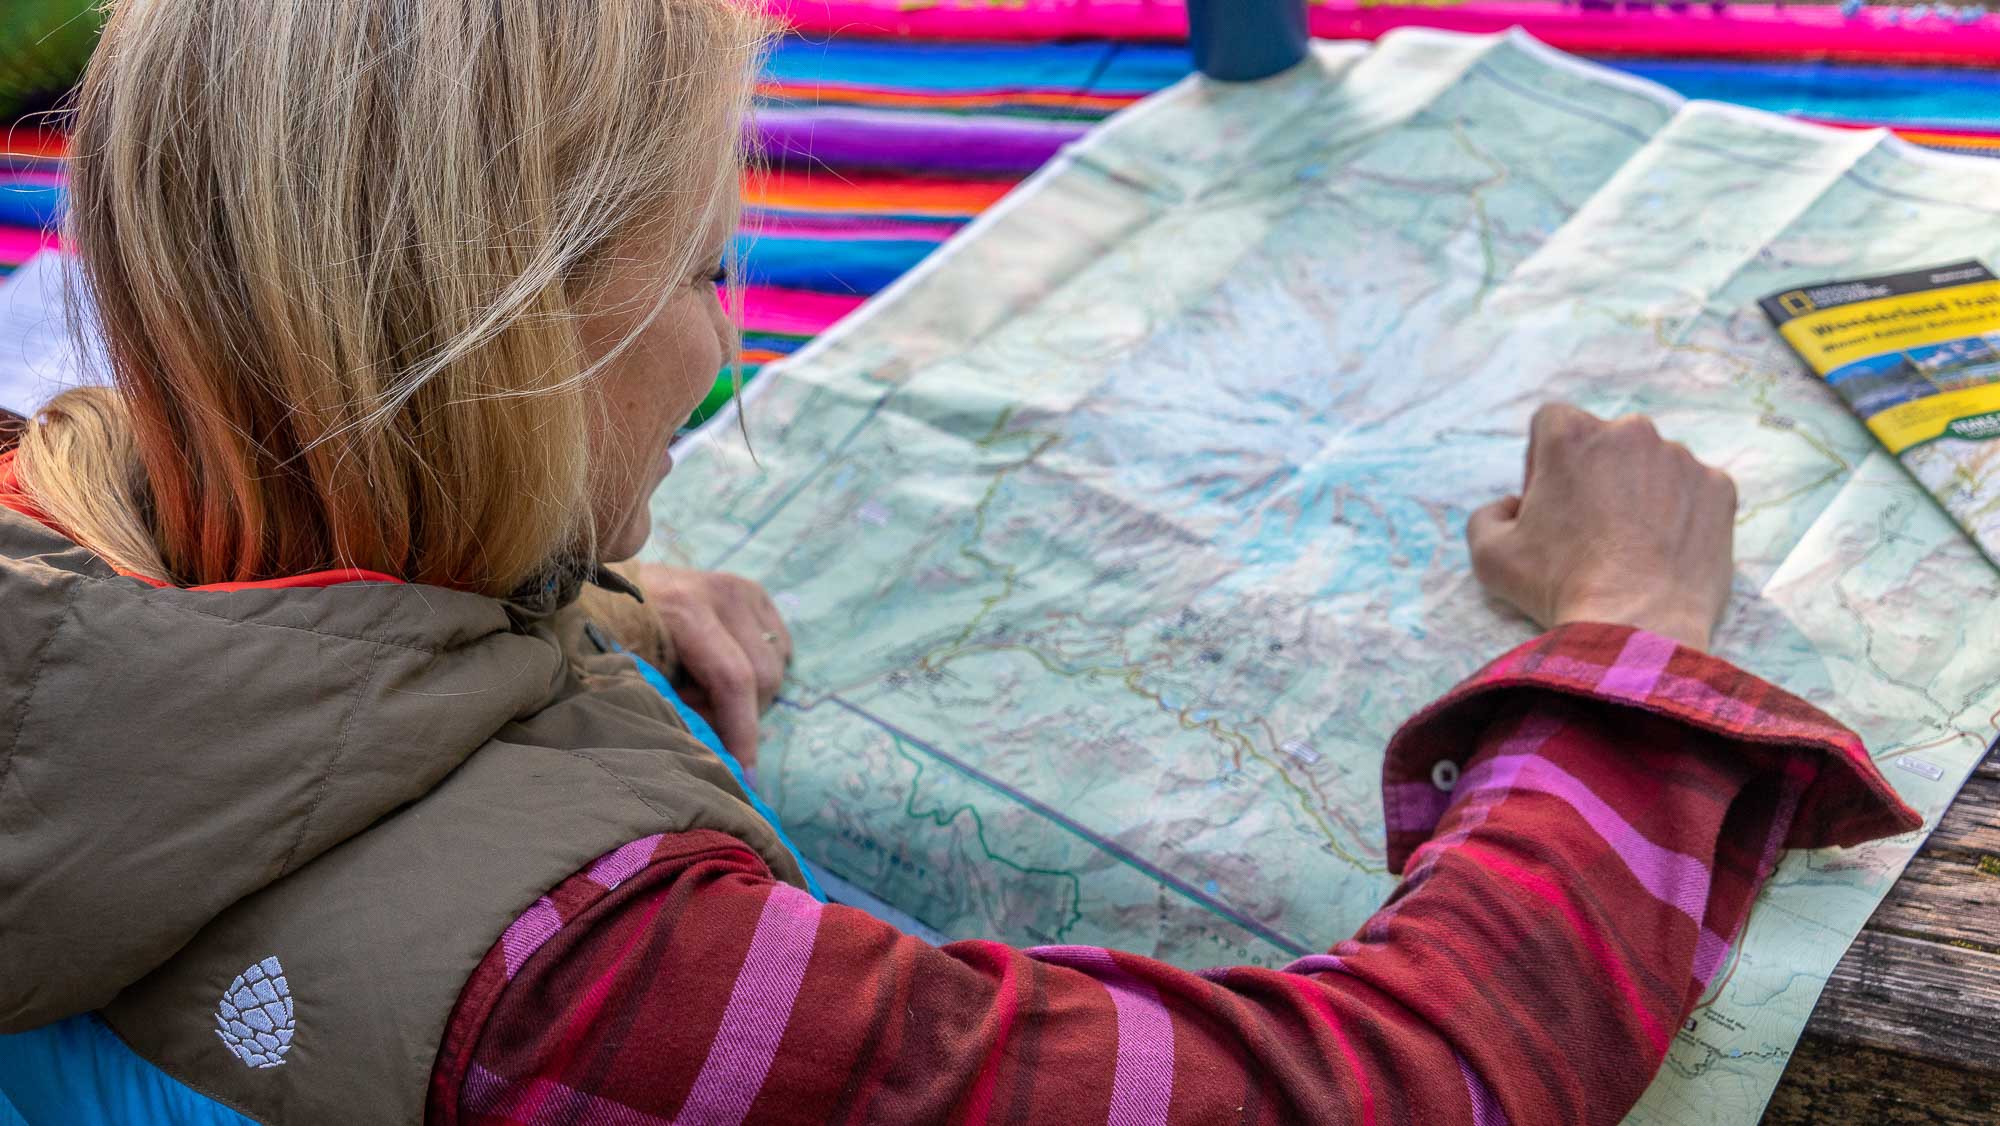
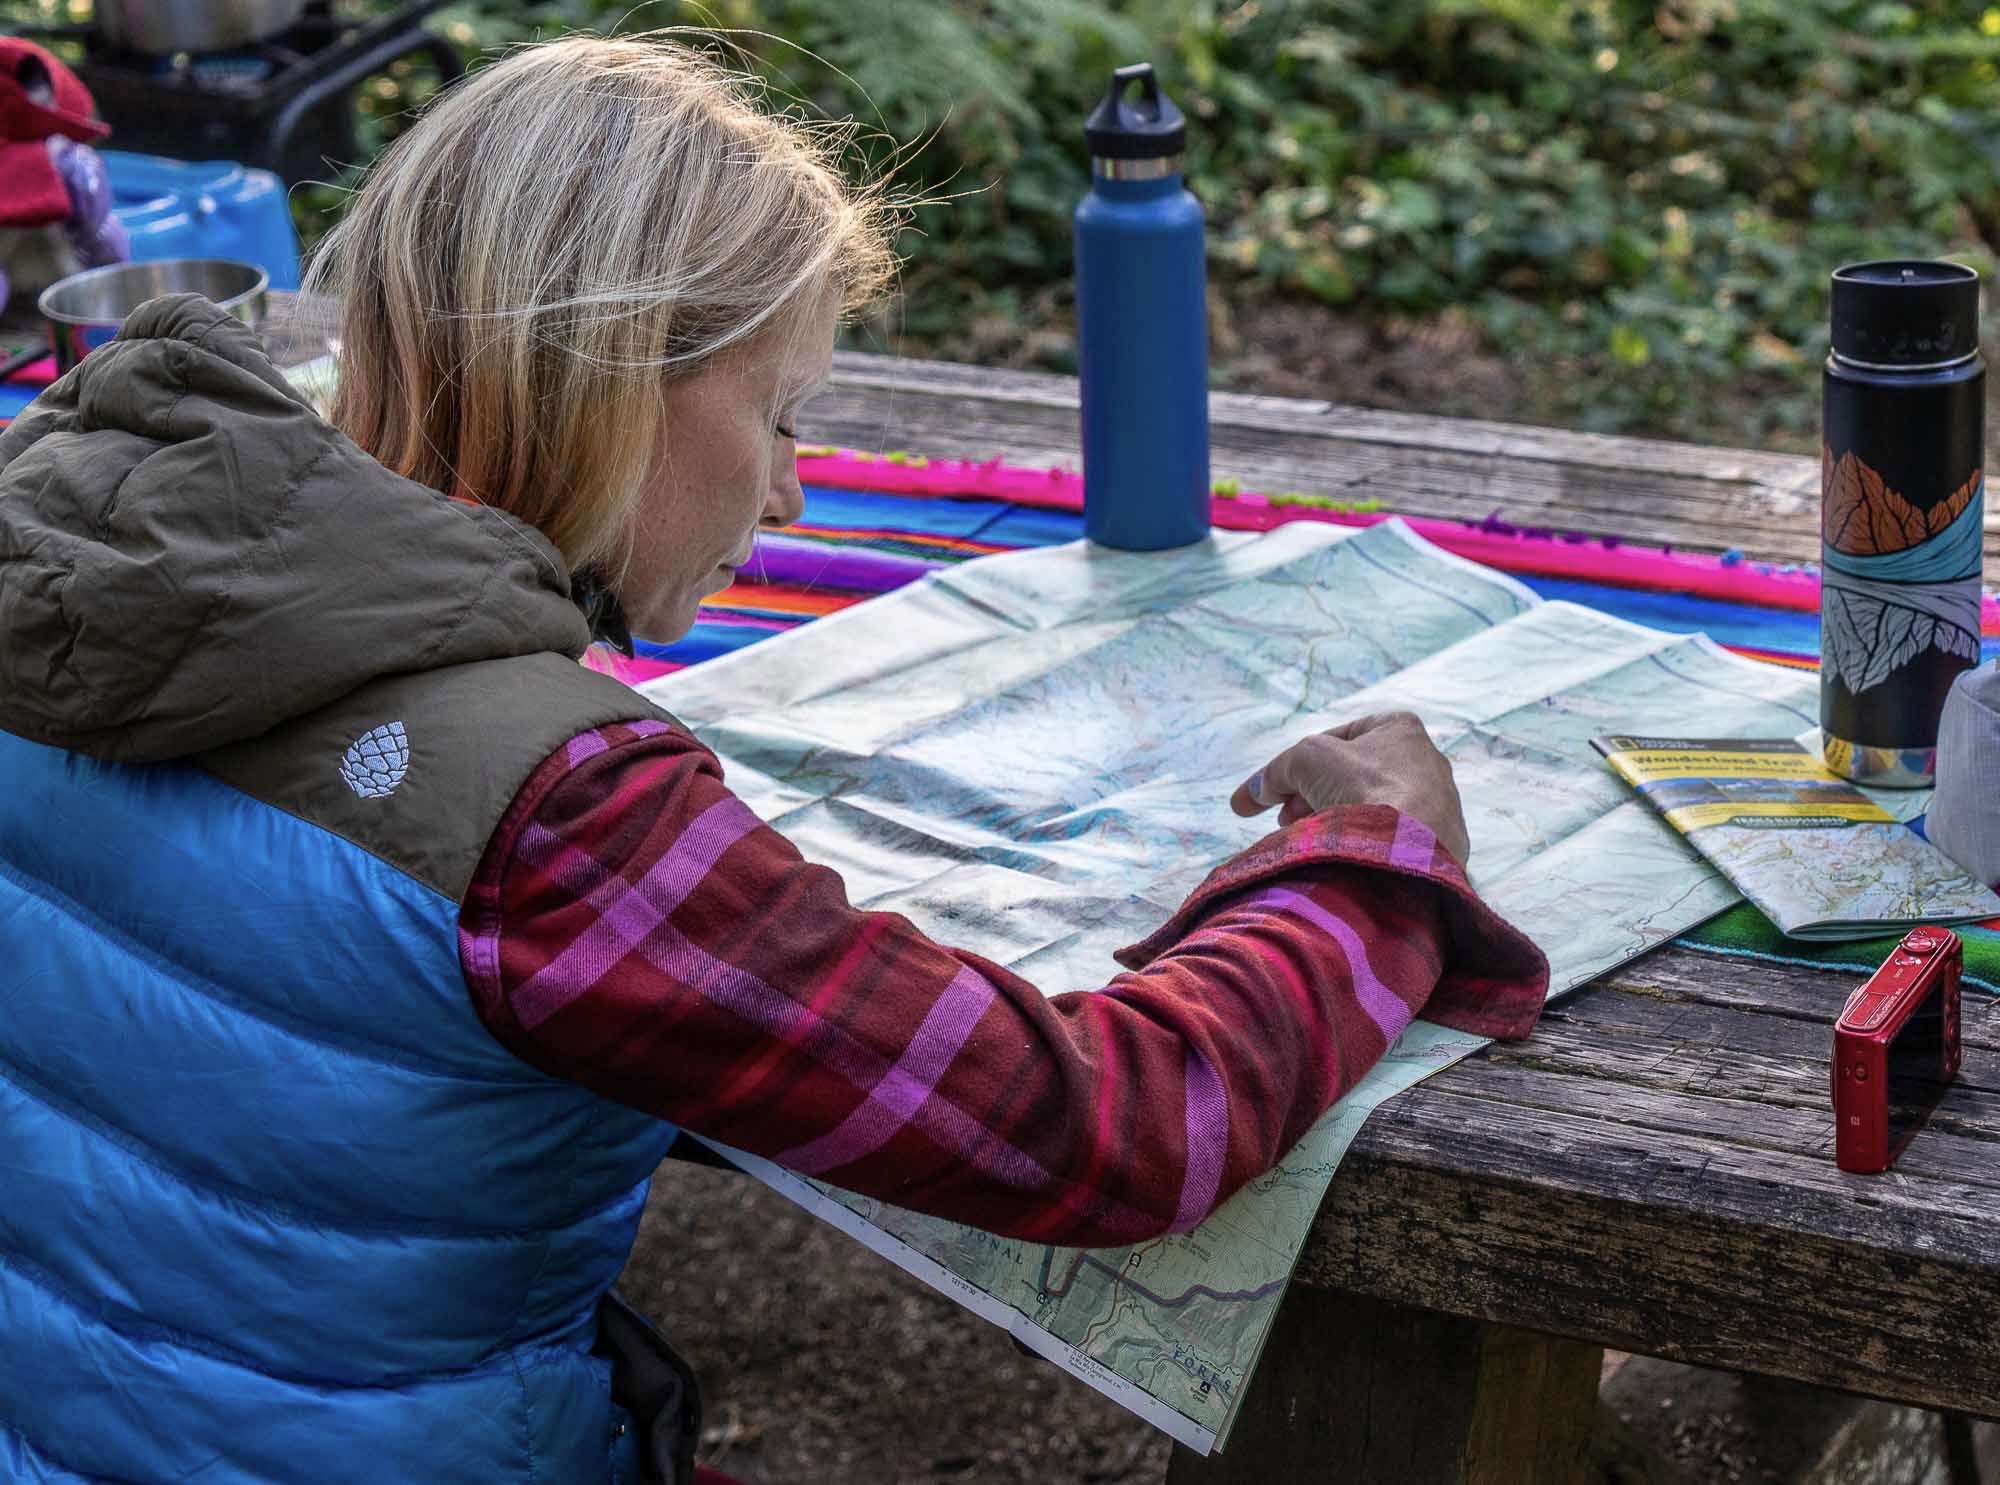
Elevation Profiles Topographical Maps and Pre Trip Info Sessions
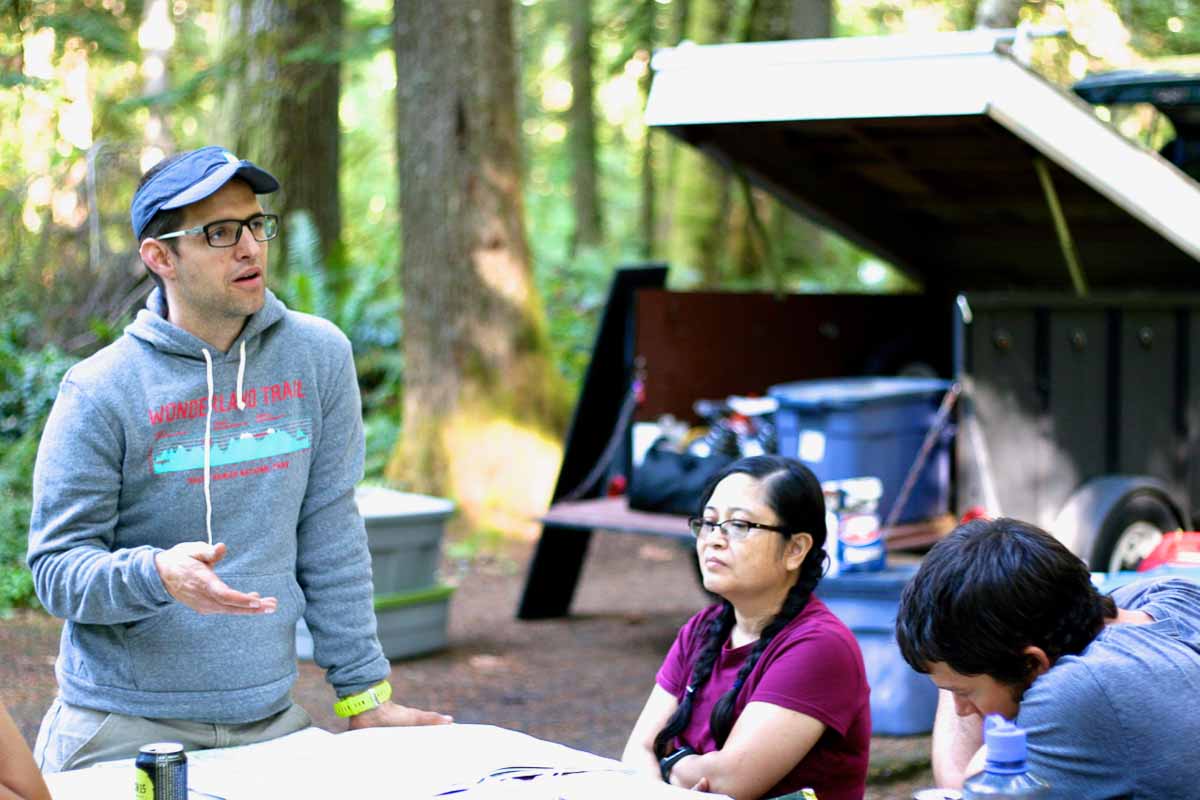
For every trip we supply runners with topographical maps, elevation profiles. and daily course briefings. Each info sessions conveys the essential navigational principles connected to each day of running. These talks include: up to date trail conditions, over all mileage, elevation gain, water sources, and points of interest. We’ll also cover required and recommended gear for each day of running. Our staff are available to check gear, clarify questions and make sure you are headed out each day with confidence.
Paper maps accompany each info session and we encourage runners to carry a paper map with them at all times on the trail. Map reading skills form the foundation to any backcountry adventure. If you don’t have much practice with topo maps, we hope that you’ll spend some time familiarizing yourself with developing that skill. This post on How To read Topographical Maps is a great start. During your trip we’re happy to spend time together with the map interpreting topography, contours, scale, and answer any map/route questions you have.
With maps we also supply an elevation profile of each day of running. This snapshot depicts the amount of the climbing and descending connecting to each day of running. Paired with a map these tools convey the essential info needed for each day of running.
Digital Navigation Tools: GPX Files and Gaia GPS
Incredible amounts of digital information connected to navigation and route finding are available in the modern era. Navigating effectively with these tools requires practicing with them in advance and understanding their limitations. Electronic tools are subject to battery fatigue, moisture, temperature, and don’t hold up well when dropped in rivers or onto rocks. They are however extremely useful when navigating in situations with poor visibility and when trying to determine ones exact location
Gaia GPS is a navigation app (available for IOS or Android) that has become the industry standard. While a free version is available, we STRONGLY ENCOURAGE you to download the membership version ($19.99 a year) that will allow you to download existing maps (including National Geographic trail maps) which are very valuable for our trips. GPX files from Caltopo can be downloaded from the course packet and uploaded into Gaia for use on our trips (please do this before the trip). You can use Gaia offline once you’ve downloaded the appropriate maps, so you won’t wear down the battery.
Getting Started with Gaia GPS
Playing with this stuff and getting familiar with it is an important part of of preparation for an Aspire trip. Make sure that you practice with Gaia on your phone, experimenting with settings and getting used to using it. Ideally, start a few months before your Aspire trip and take it out on some runs with you and use it. See how accurate it is, or isn’t. See how your phone battery holds up while using it at different settings. See what your favorite map colors are!
Below we’re including a few introductory tips for exploring GAIA GPS. You can find even more guidance at https://help.gaiagps.com/hc/en-us
Settings
One thing that can really helpful to familiarize yourself with it is to try different settings. You can find the settings button on the bottom right of the screen:

Once in settings, you can work on adjusting settings, which can affect everything from colors and appearance to the intervals at which distances are marked.

One thing that is quite helpful is to go to the “Power Saving” Menu and familiarize yourself with it, so that you know how to get the most out of your phone on long days.See how long your phone battery lasts while you use it.

How to Download a GPX File in GAIA GPS:
You’ll find this really useful when you download the Caltopo maps from the coursepacket:
- Open the app and tap “Map” in the bottom menu bar
- Tap “+” in the top menu bar
- Tap “Import File”
- Browse for the file and tap it

Other Electronic Resources
- A small battery and charging cord for your phone. We’re often covering significant miles, and sometimes batteries can get low. Having a backup power source can make the end of the day less stressful if you’re trying to navigate with Gaia GPS and your phone’s power is getting low.
- A GPS watch that can keep track of mileage. Companies like Suunto, Garmin and Coros all make watches like this. Some of them also have navigation and map capabilities, and even ways to backtrack. Sometimes just knowing how far you’ve gone or what elevation you’re at can help you make sense of where you are.
- A satellite/beacon/communication device like a Garmin Inreach or a Spot. These are certainly not necessary, but if you already have one, bring it, if just to practice. It’s one more tool in the kit. Your Aspire guides will each have one of these as a safety measure.
Over the course of your days with Aspire, you’ll learn about off-trail navigation and route-finding tips, risk and objective hazard analysis. While safety is our highest priority, fun and education are also really important to us. We want you to have the best possible experience, and for you to feel confident, strong, and resilient. If you know where you are and where you’re going, you’ll run better, feel stronger, and have WAAY more fun. We look forward to sharing these incredible landscapes and skills with you.